 LSS 4
LSS 4Color Effects
The Color Effects layer type allows you to create beautiful 2D color effects using the same tools available in the strip scene.
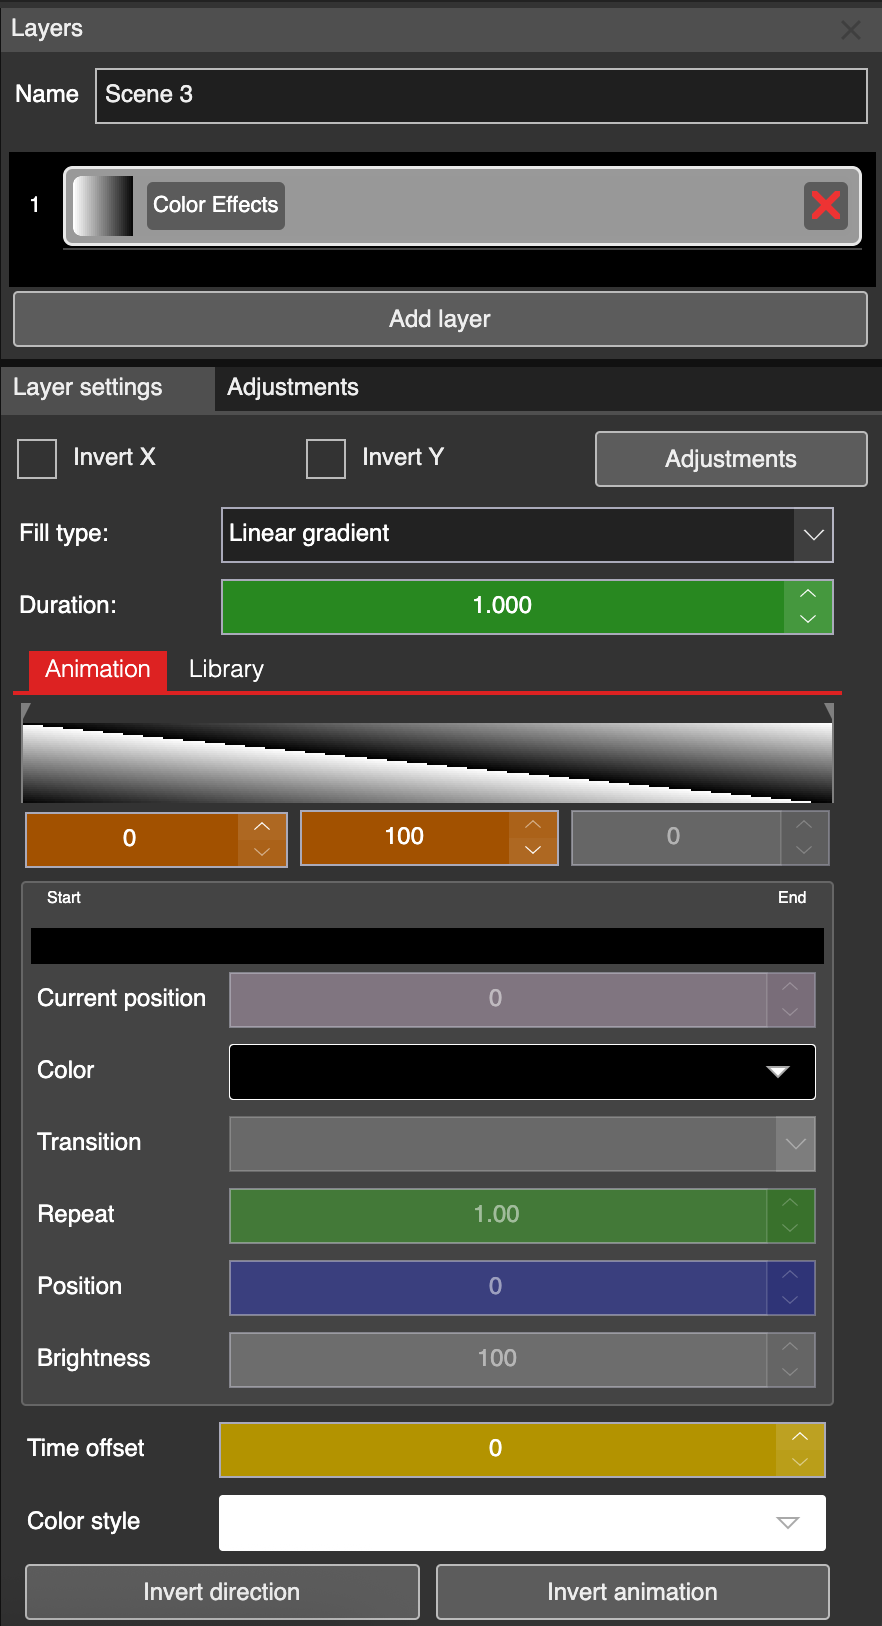
Color Effect layer settings
Fill Type
In the Fill Type, you can select one color shape type. Available are Linear, Radial, Conical, and Rectangular gradients. They define the shape of how the color palettes are applied.
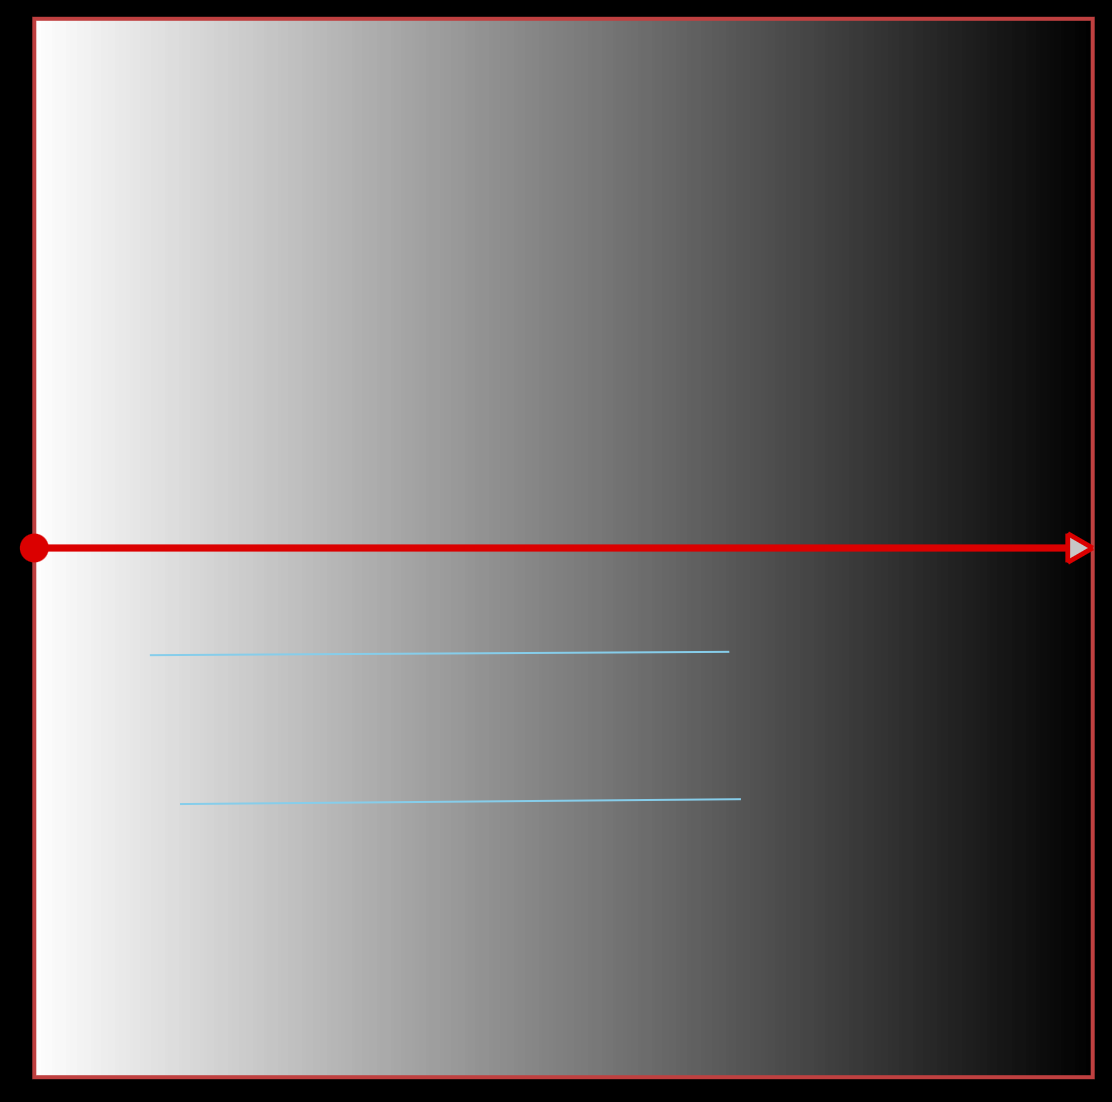
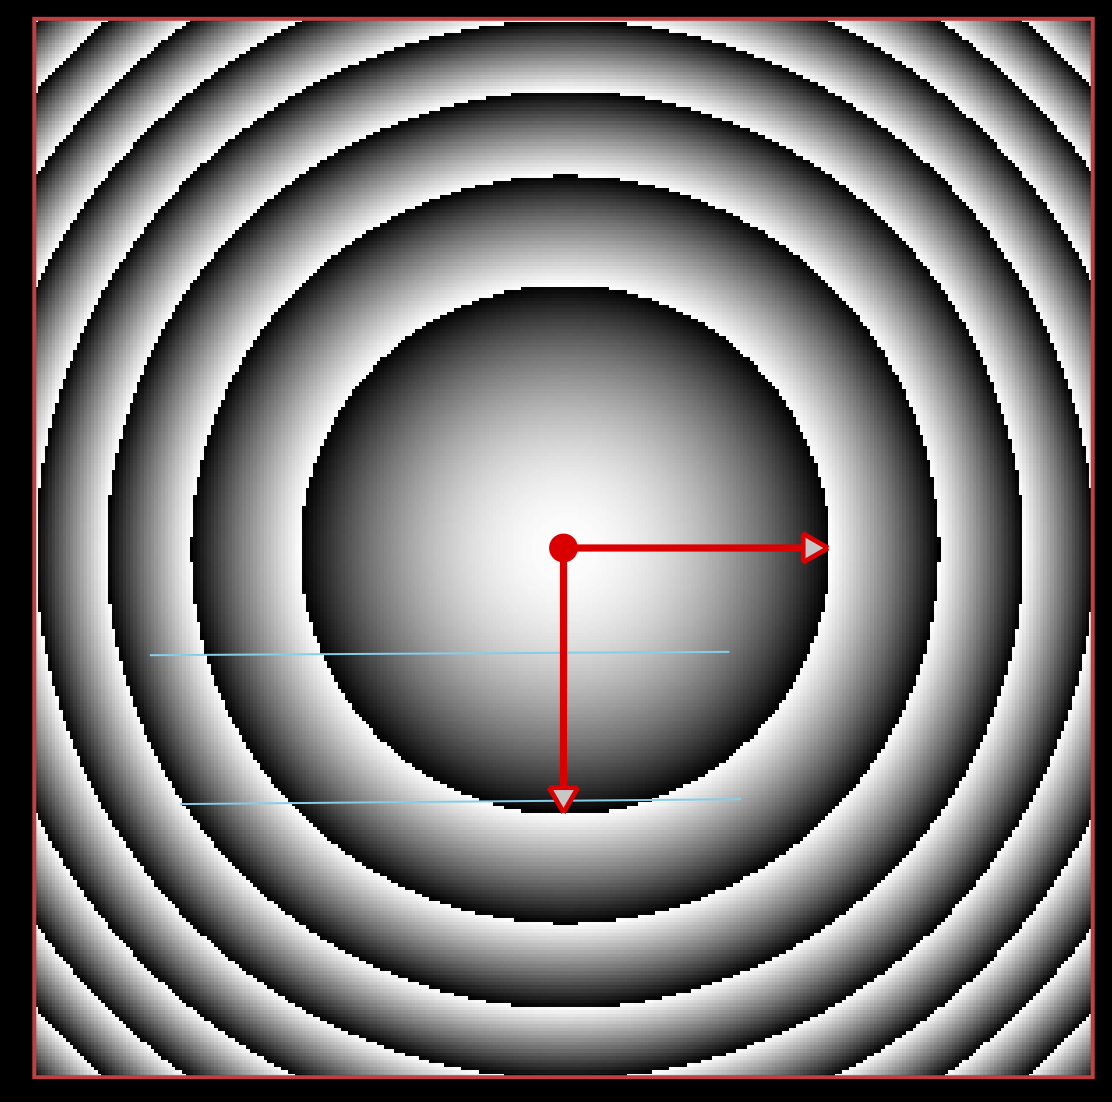
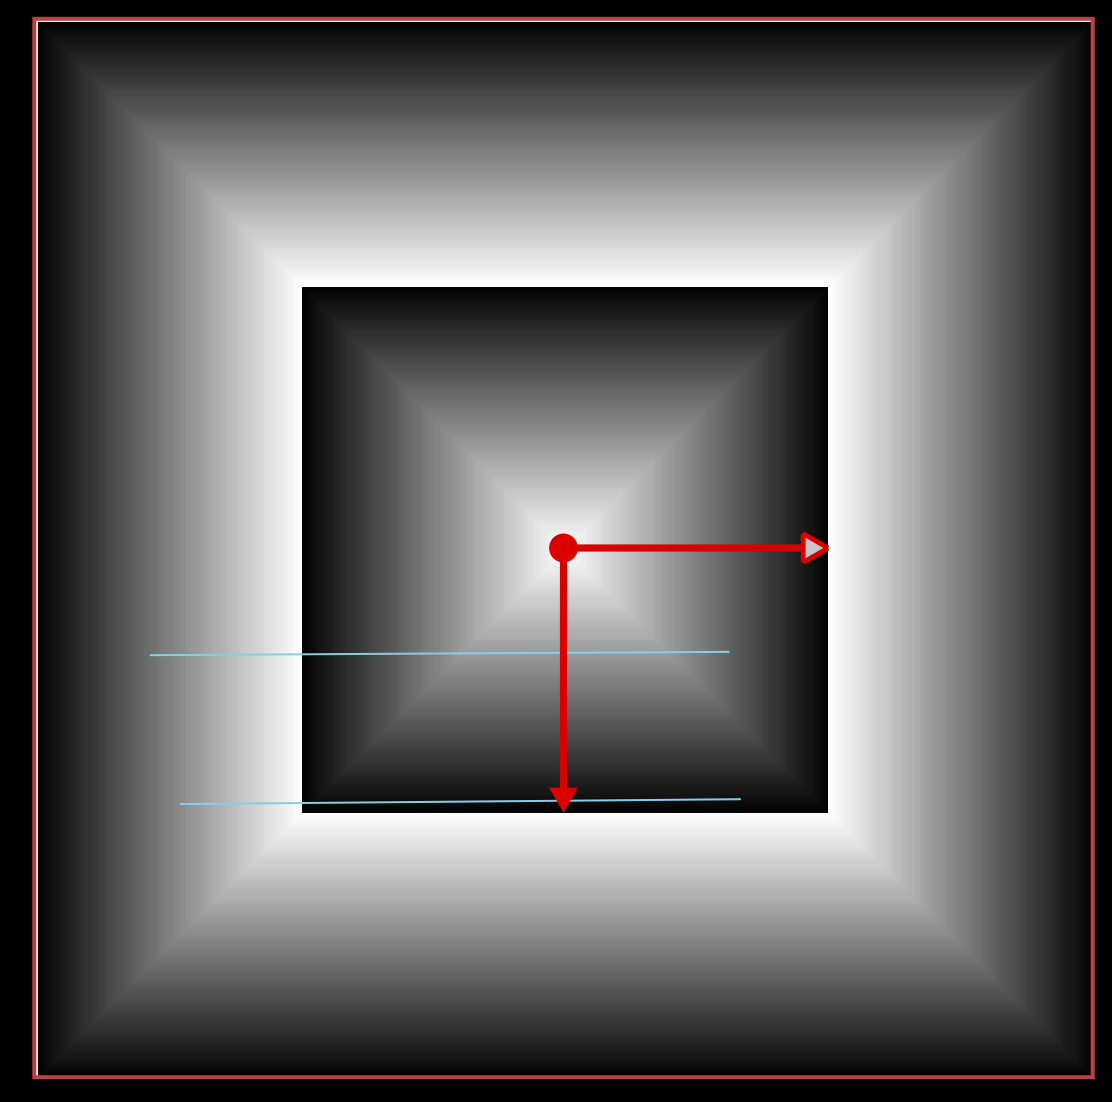
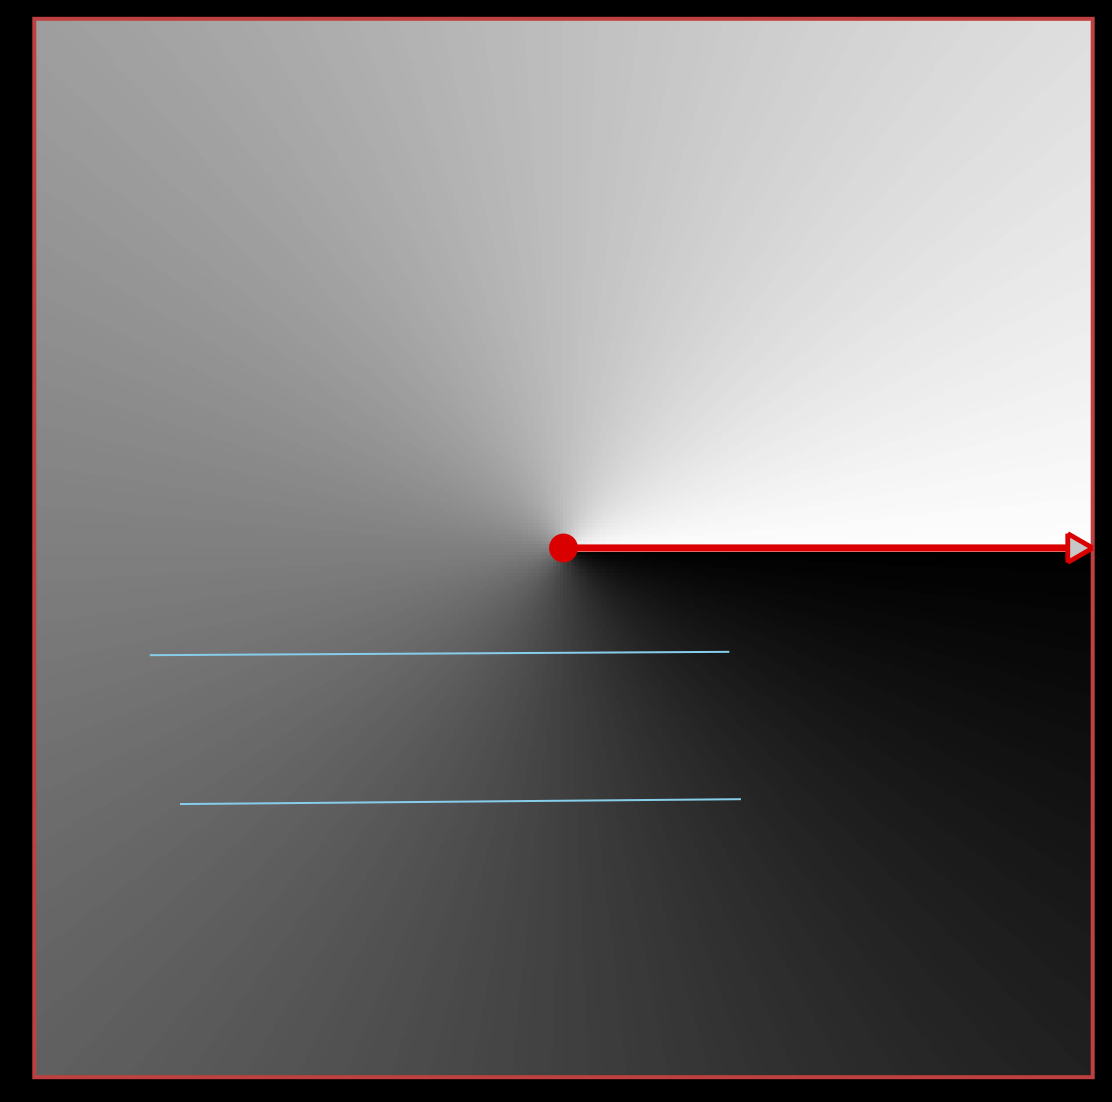
Different types of fill types in color effects
Every type of fill has one or two control points that can be edited in the Editor pane of the video scene window. For example, you can change the default circle in the Radial fill type to an ellipse.
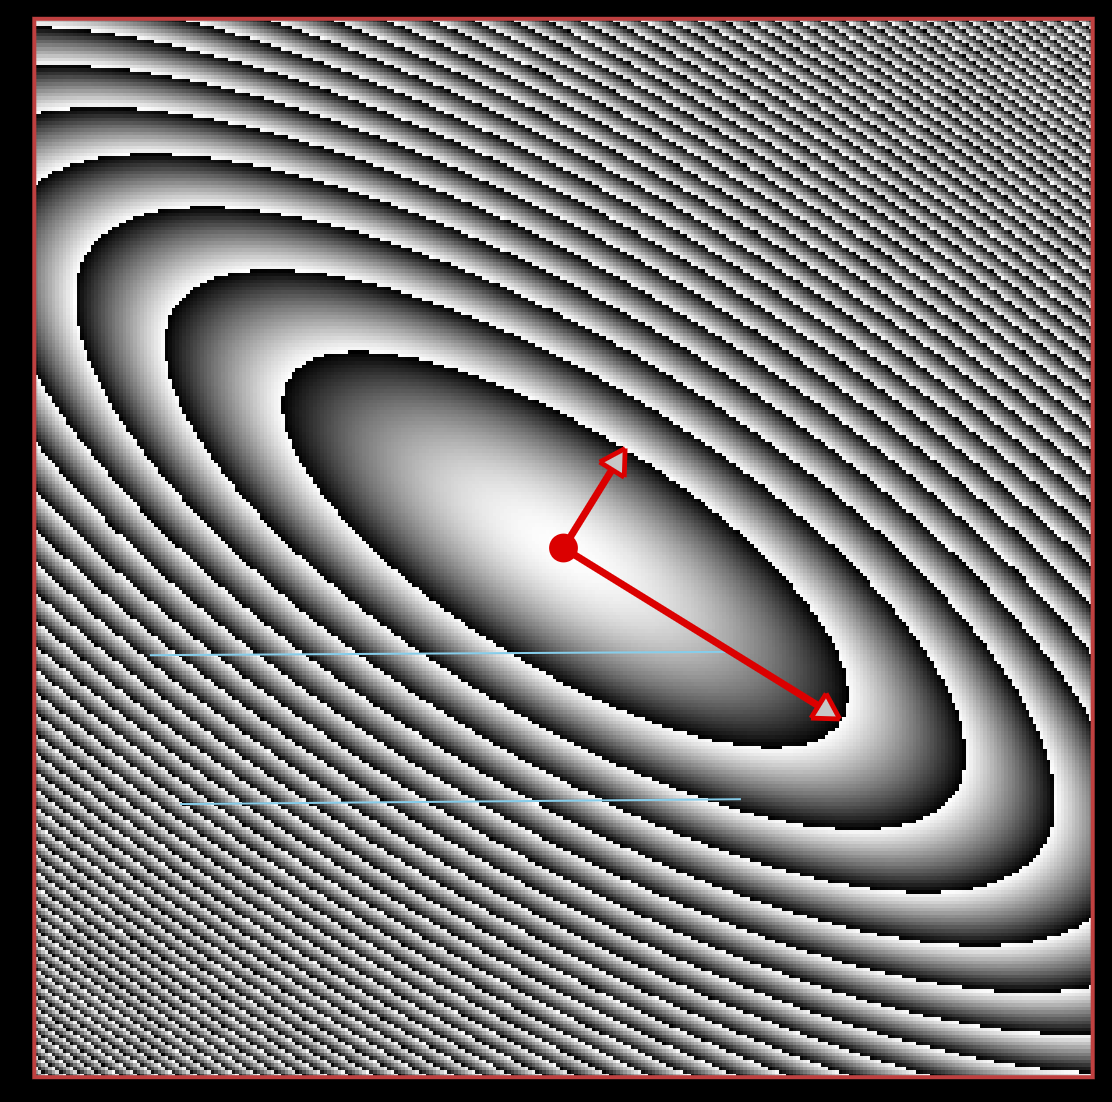
Using fill control buttons, you can adjust the color, effect, and shape of the image
Duration
In the Duration you can set the duration or speed of the whole animation. It’s measured in seconds.
Creating Color Palette Animation
The tools below the Duration are the same as creating a strip scene animation. You can define keyframes with color palettes and you can also use standard palette animations using Position. Please refer to the Create Strip Animation section of this manual.
Library
You can use the same library of strip scene animations in the Color Effects as well. In the “Library” section, you can select the palette animation you like. By using the green “+” button, you can apply it to the selected “Fill Type”.
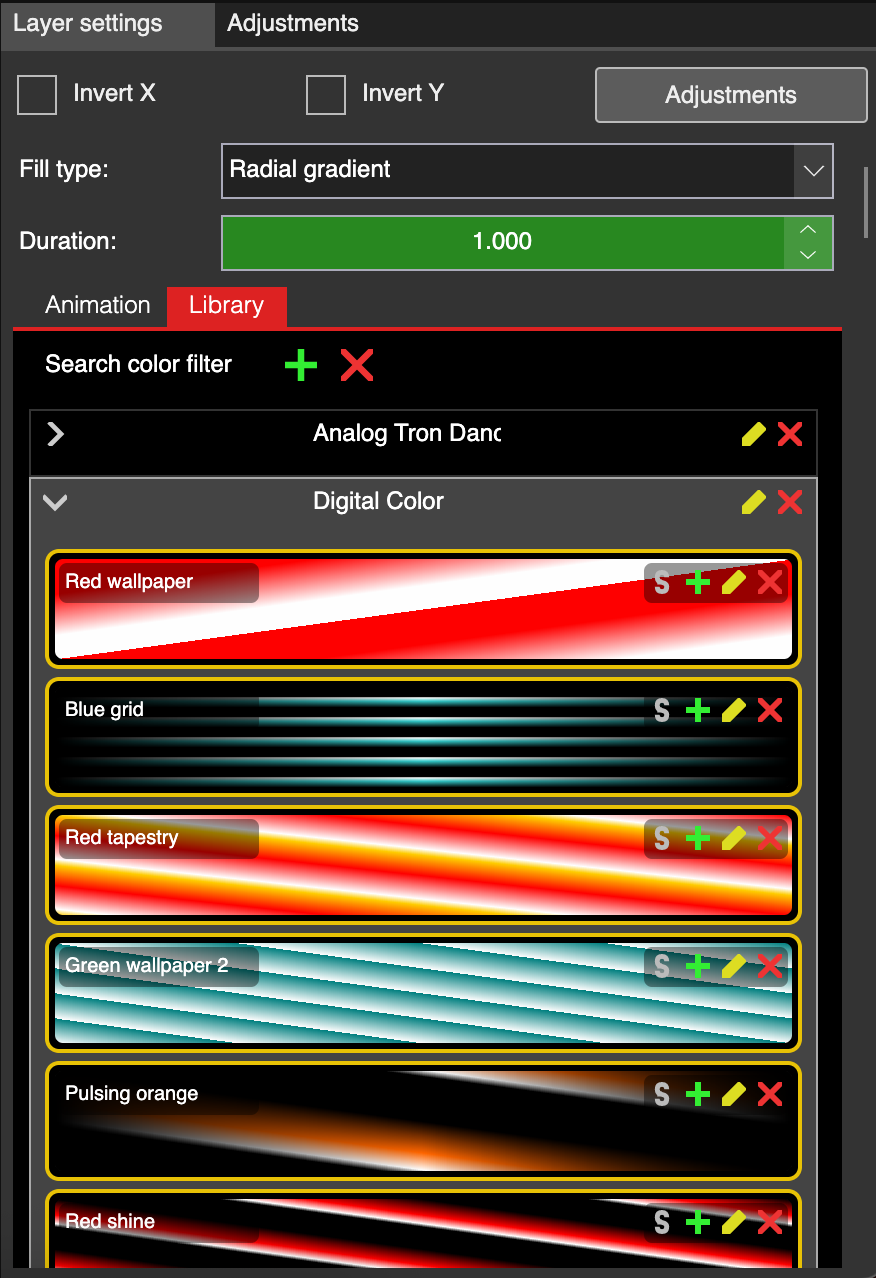
Color Effect library
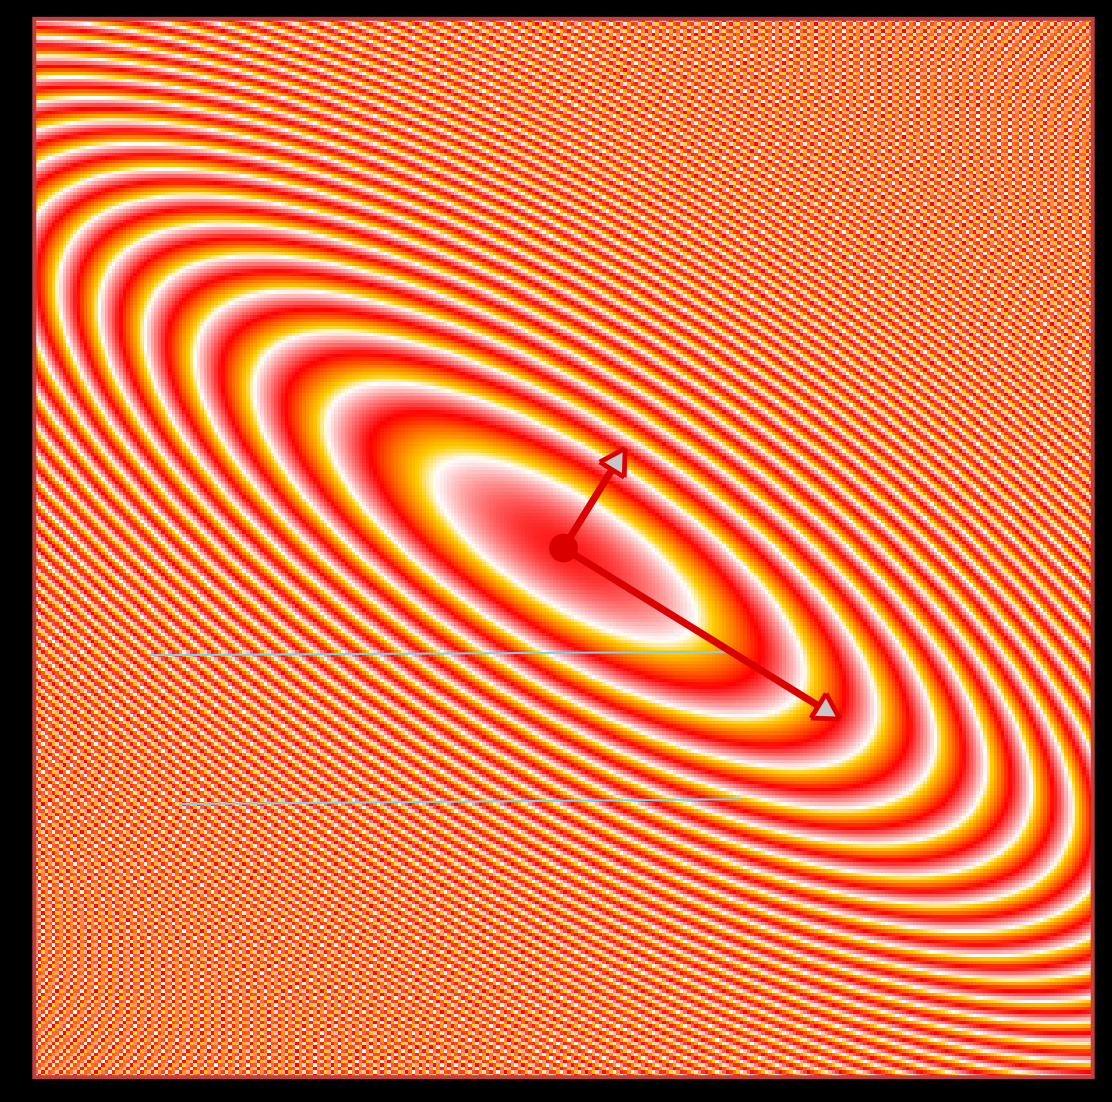
Applied library animation on radial fill type
Invert X / Y
At the top of the Color Effects settings, you can quickly invert the fill by using the Invert X and Invert Y buttons.
Adjustments
After clicking the Adjustments button, there are additional color adjustments available..
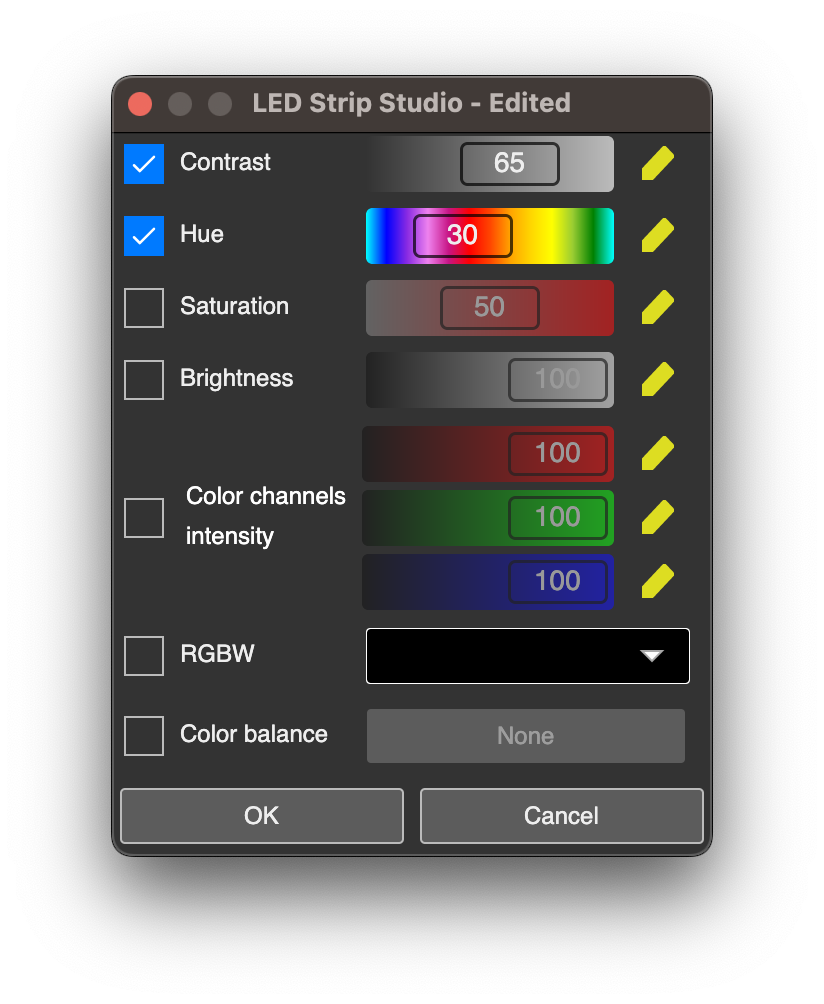
Additional color adjustments
These settings only apply to the Color Effects layer, not the other layers in your scene window. For a detailed explanation, please refer to the Adjustments section of the Video Scene manual.