 LSS 4
LSS 4Connecting Devices
Before you can send visual data to the LED controller, you need to create a mapping. A mapping defines the layout of pixel LED strip segments and their assignment to different Ethernet devices (i.e., the IP addresses of the LED pixel Ethernet controllers).
To open mapping editor in LSS4 please click the mapping icon in the home ribbon.

Mapping icon in Home tab Strips section
Mapping Window
In the mapping window, you can draw pixel LED segments and assign them to the outputs of the LEC3 or activated Reactivo 2 devices.
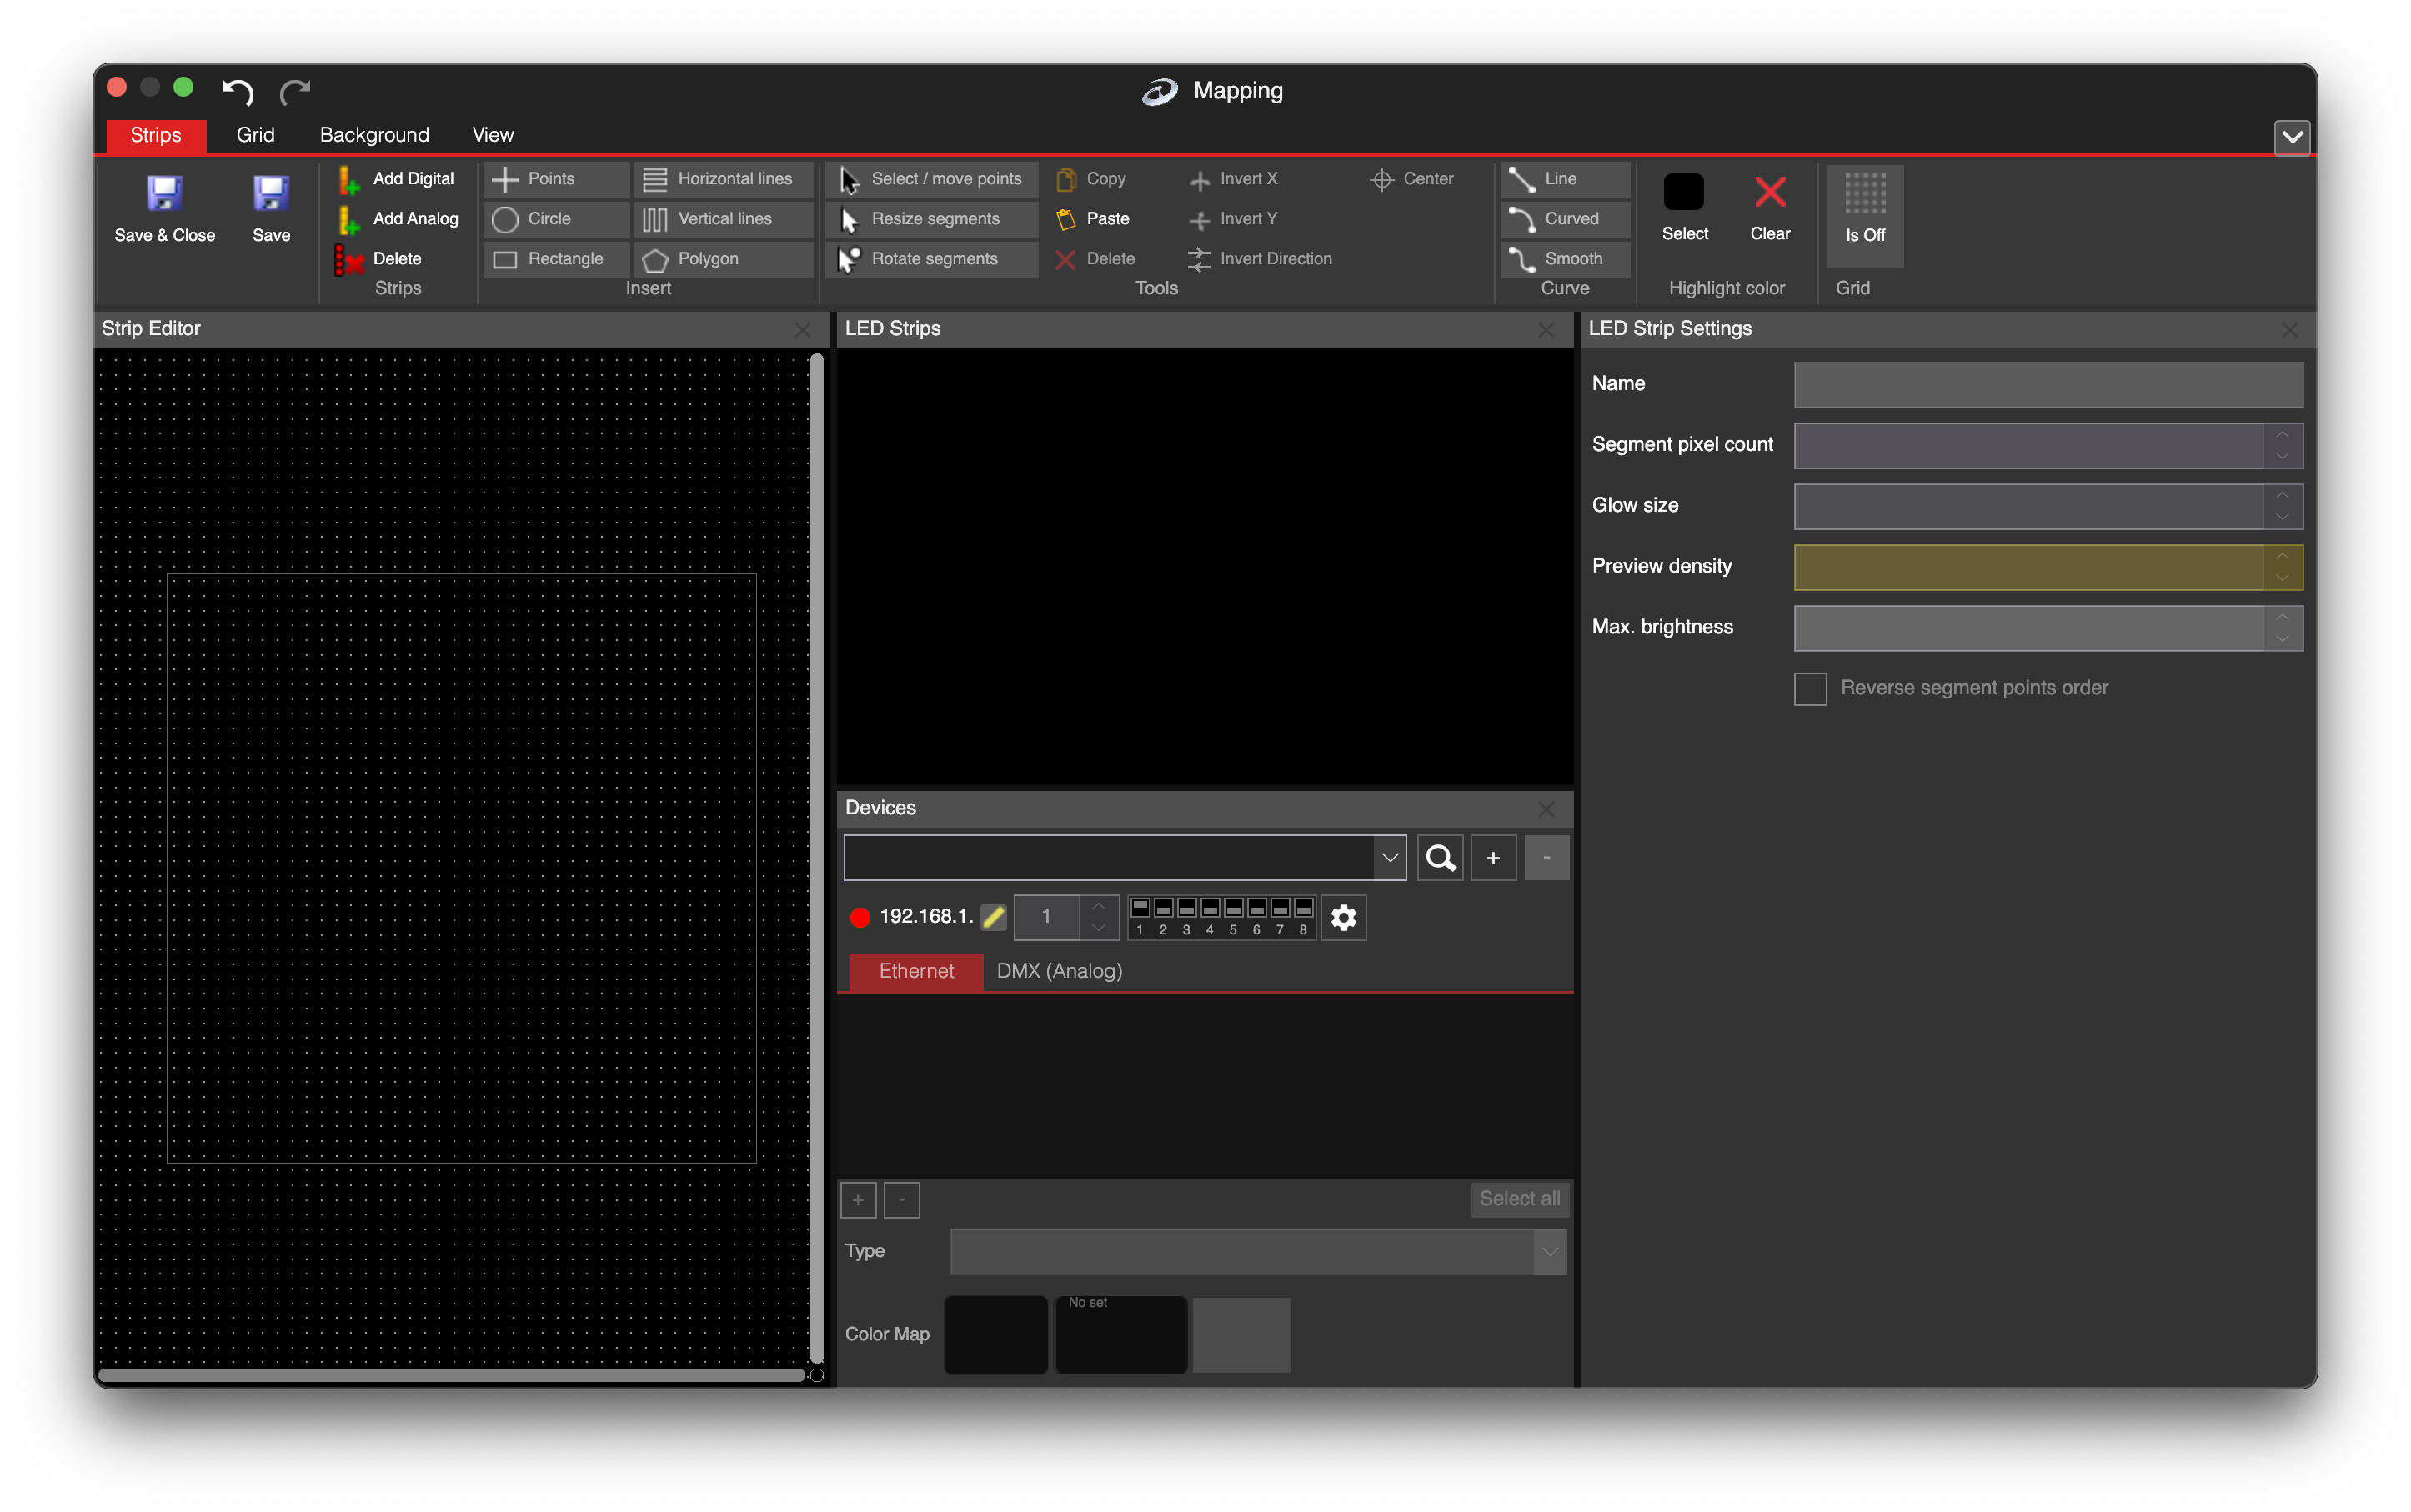
Empty mapping window
If your PC is configured correctly (i.e., its IP address is in the same range as the LEC3 or activated Reactivo 2LEC3 or activated Reactivo 2 IP addresses), you can use the search button to add all available devices on your network. The search button is located in the Devices section of the Mapping window.
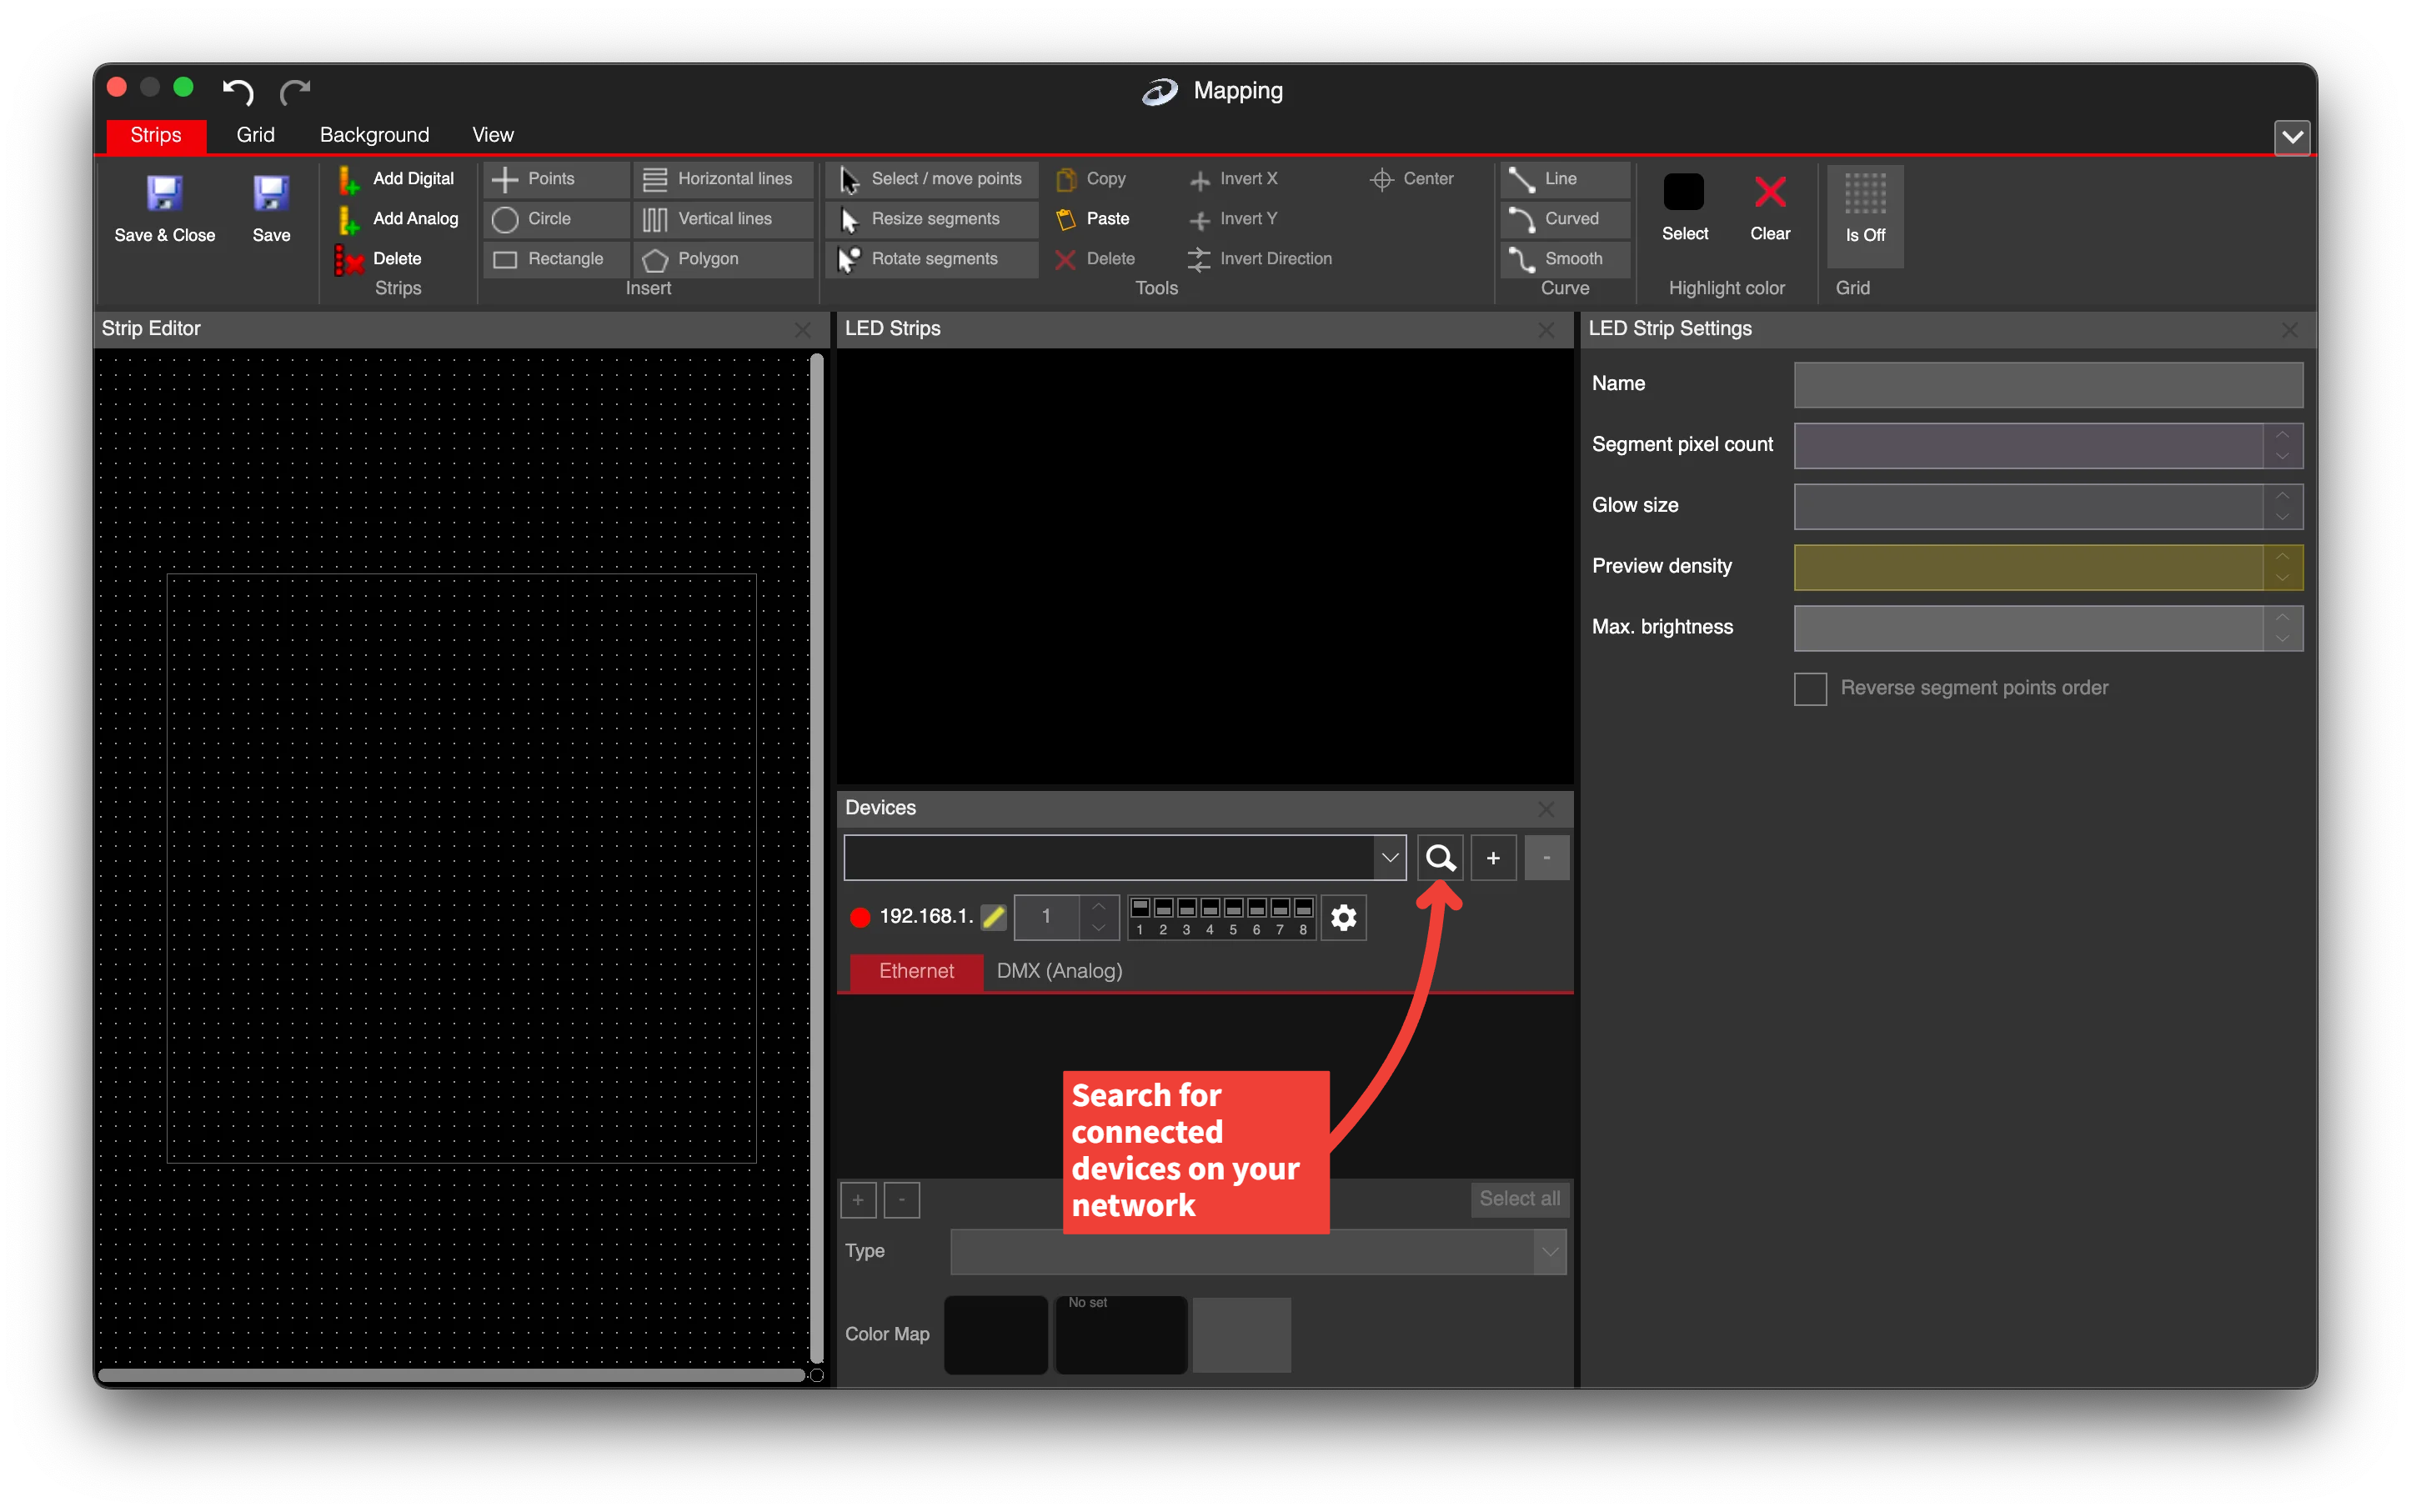
Search for connected devices on your network
If the search is successful, the device will appear in the Devices list. You’ll see the device’s IP address (192.168.1.254 in this example), and a green dot will appear next to the IP address:
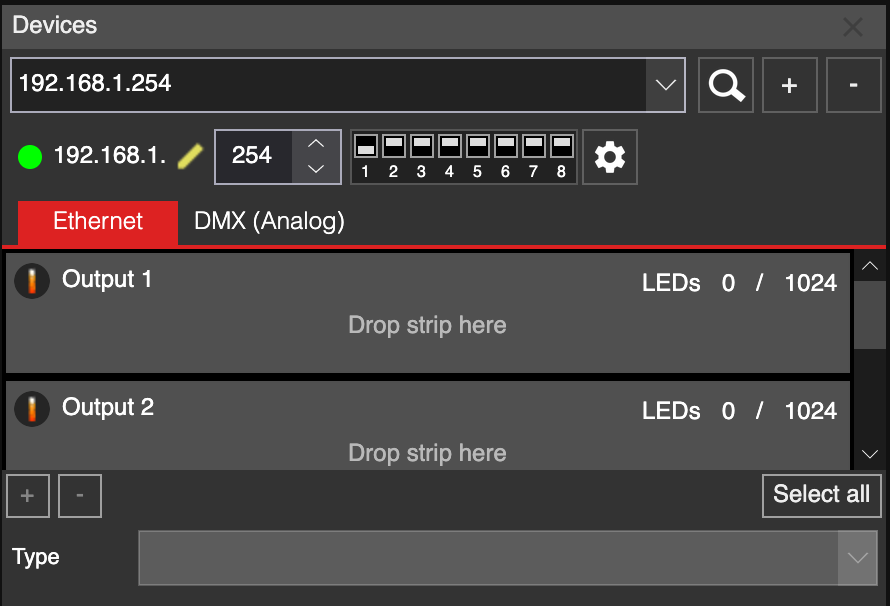
Found connected device
The green dot indicates that the connection to the LED pixel controller (LEC3 or activated Reactivo 2) has been successfully established and that it is ready to receive video data.
Now you can assign the new strip segments to the device output(s). There are 4 outputs available for LEC3 device and one output available for Reactivo 2 device.