 LSS 4
LSS 4Editing Events
In the following sections, we will explain how you can edit the scenes. Generally, you can set their start time, change their duration, or even edit their transparency (alpha channel) with precise synchronization in time.
Add New Track to Timeline
The default setting for the new LSS4 show only includes one track. A track is defined as a line where you can paste scenes from your banks. To add an additional track, simply click the + button on the left side of the show pane.
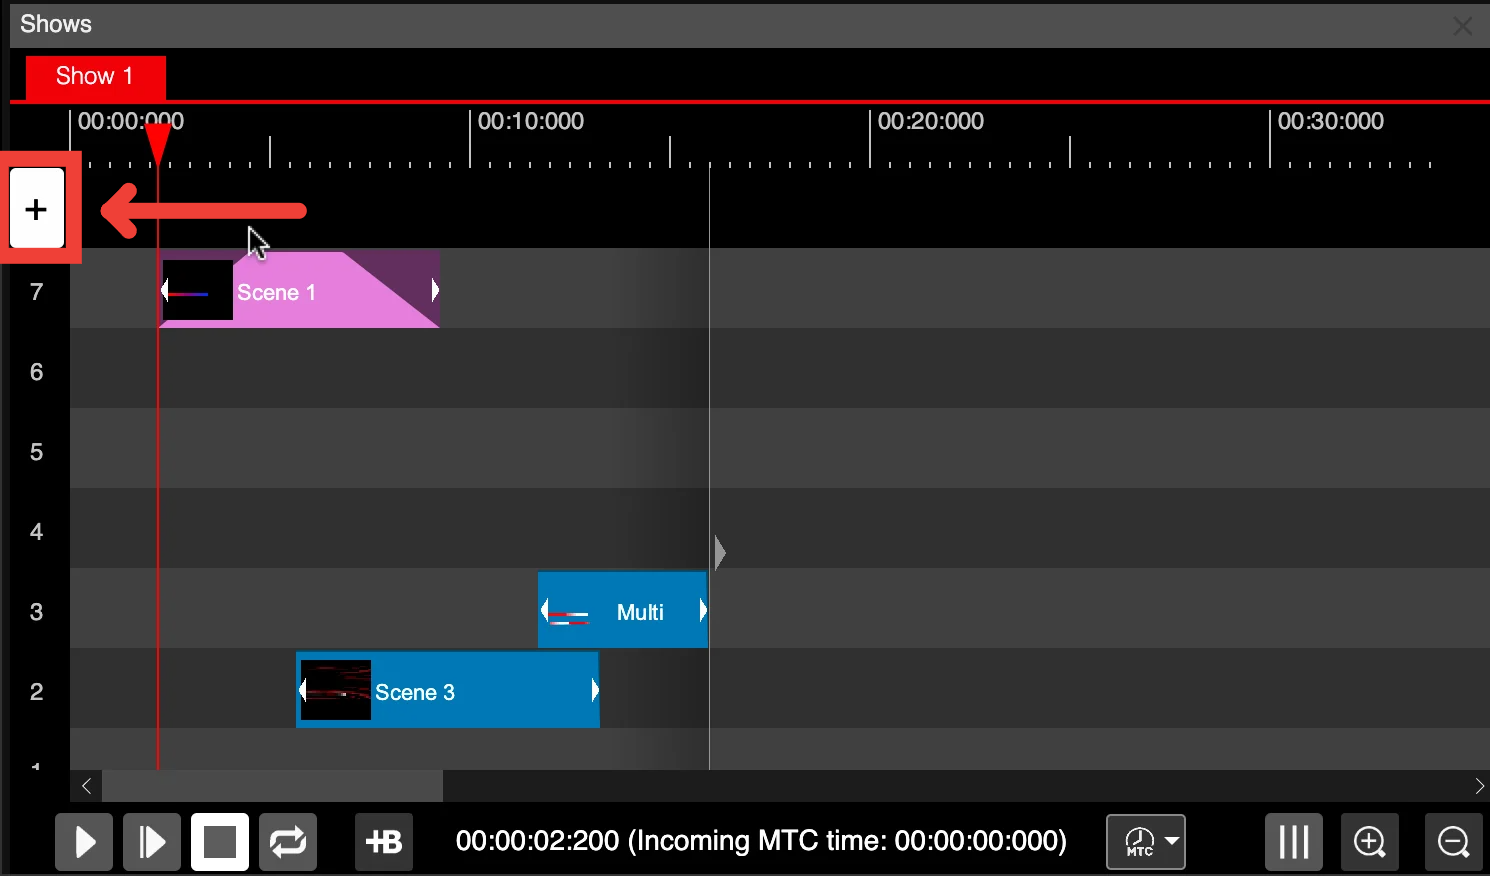
Add new track button
Set Start Time of an Event
There are two ways to set the starting time of an event. You can simply left-click on the event and while holding and moving left-right, you will set its start time. In this case, you are only setting the start time while the duration of the event remains the same.
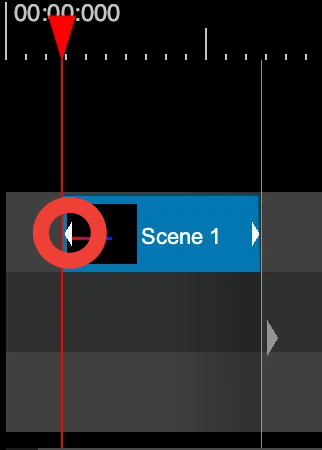
Set the start time by clicking on the left triangle of an event
The second option is to left-click on the left arrow of the event. This will keep the end of the event untouched, allowing you to edit the duration of the event.
Set Duration of an Event
There are two ways to set the duration of an event. Right-click on the event and, while holding the left mouse button, move the mouse to set the duration.
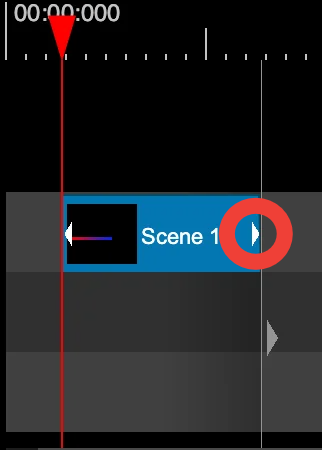
Set the duration by clicking on the right triangle of an event
The second option is to left-click on the right triangle of the event and, while holding the mouse button, set the duration.
Zoom in/out
At the bottom-right of the show pane, you’ll find magnifying glass icons for zooming in and out of the show timeline. You can also use Cmd + mouse wheel (Mac) or Ctrl + mouse wheel (Windows) to zoom quickly.
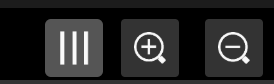
Zoom in/out
The 3-line icon will enable or disable frame-snap points in the timeline.
Undo/Redo
While creating the show, you can use Cmd+Z and Cmd+Shift+Z on Mac (or Ctrl+Z and Ctrl+Y on Windows) to undo and redo actions in the show. All actions in the show editor are stored in the undo buffer, making it easy to revert back to a previous state of your show.
Snapping
The LSS4 timeline provides a practical way of snapping events on a timeline. A typical example is being able to set the start of a second event on the next line immediately after the first event is finished.
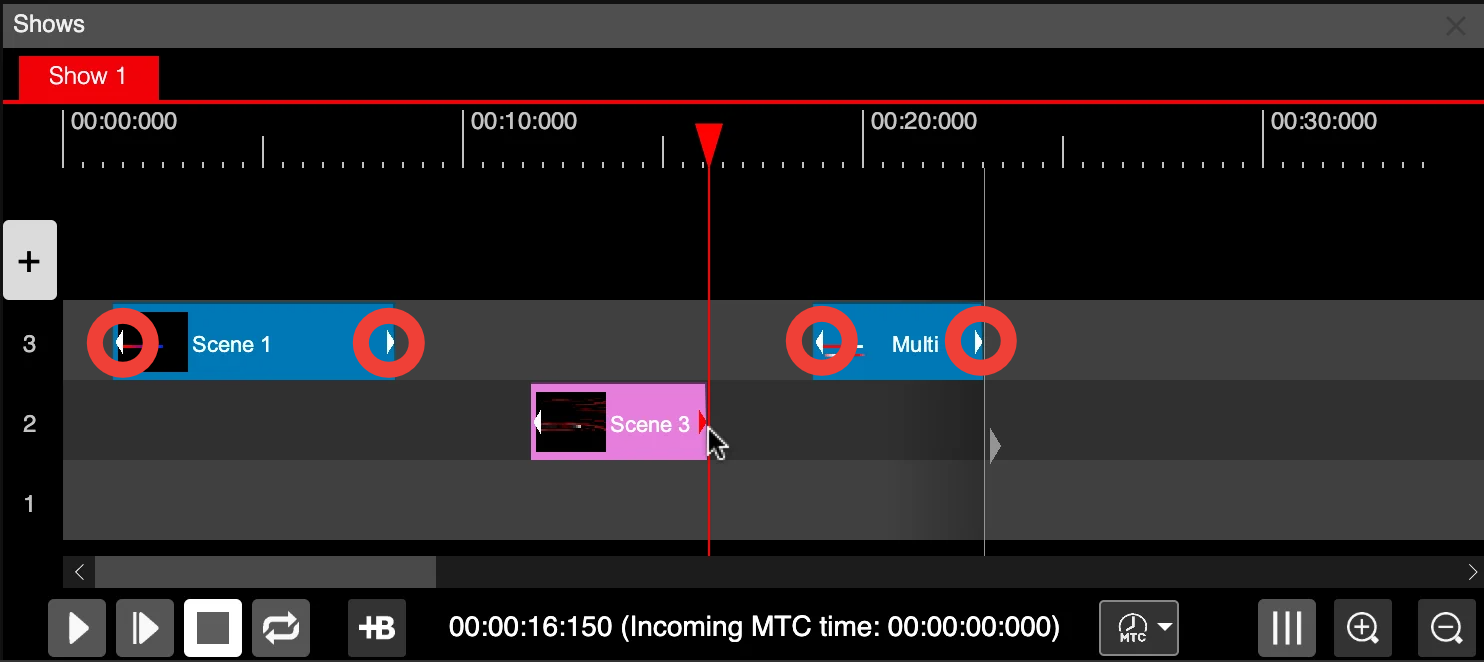
Hover over the other event triangles to snap
To snap the start or end time of an event, click and hold one of the event triangles. Then, hover the mouse over the triangle of another event. The edited start or end time of the event will snap to the triangle below the mouse.
Copy/Paste Events
To copy and paste selected events in the timeline, you can use the standard Cmd+C and Cmd+Y (or Ctrl+C and Ctrl+Y on Windows). To select multiple events, click and hold the left-mouse button on the timeline area. All events within the selection rectangle will be selected when the button is released.
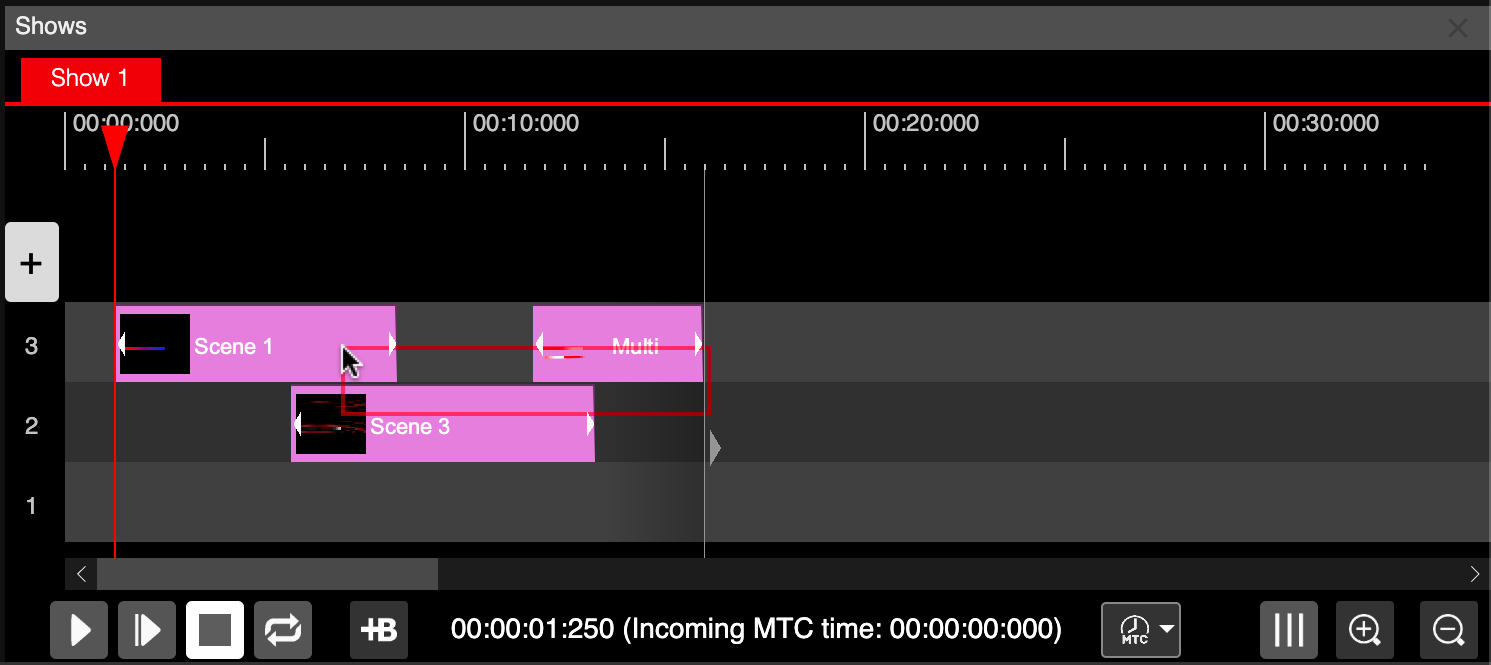
Select multiple events
Once you have selected one or more events, simply press Cmd+C (or Ctrl+C on Windows) to copy them to your clipboard. Important note: You must hover your mouse over the Shows pane in the main window.
To paste the events from your clipboard, use Cmd+V (or Ctrl+V on Windows). You can then left-click to paste the events into the timeline. The software will also provide a preview of where the events will be pasted while hovering over the timeline.
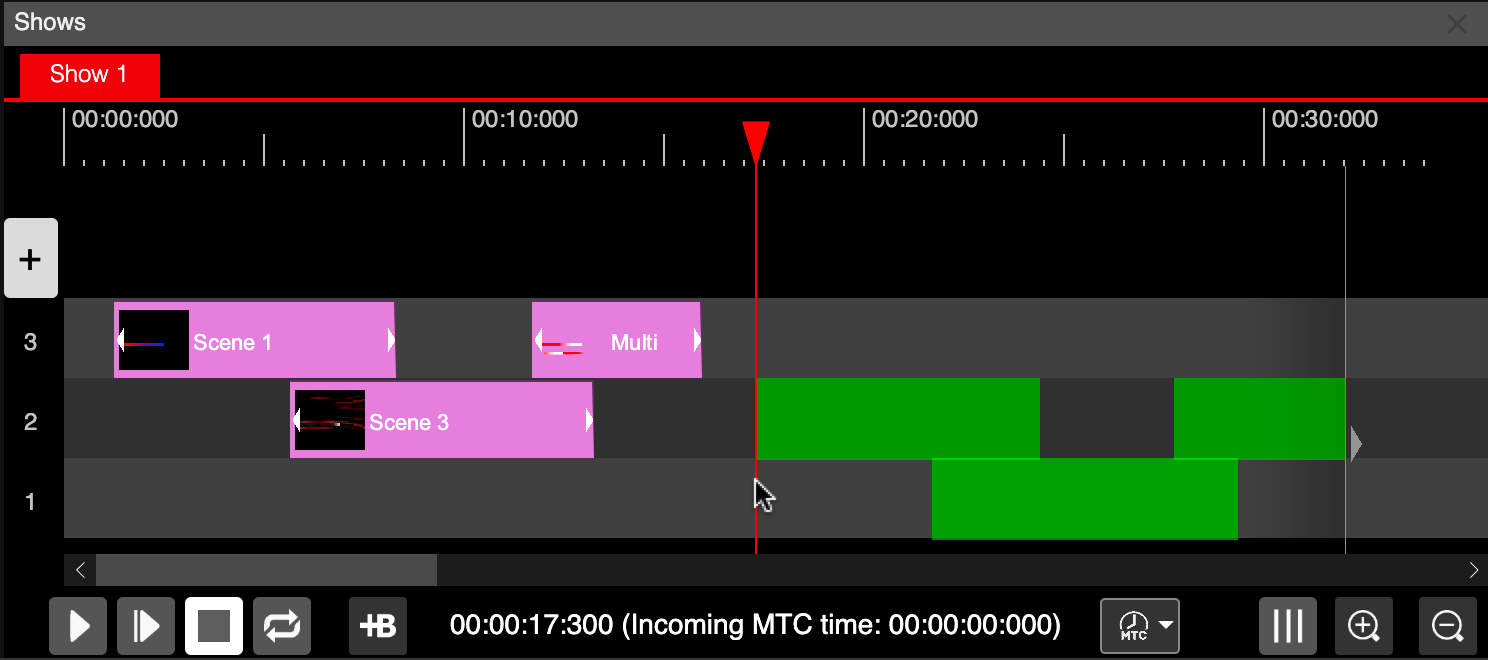
Paste events preview
Event Context Menu
Once you right-click the event in the timeline editor, a context menu will appear.
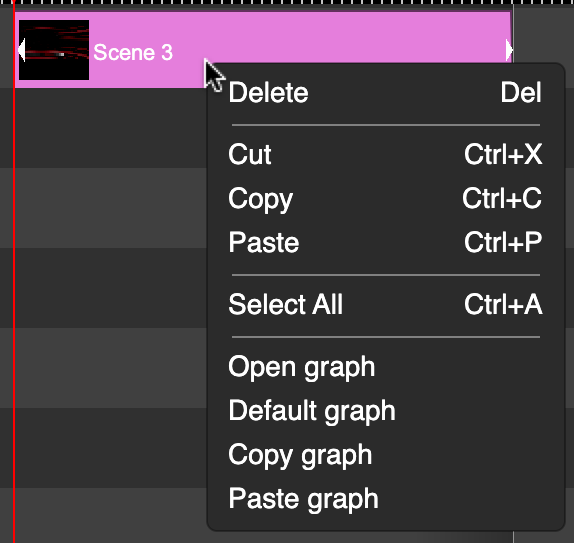
Event context menu
Event Transparency
You can mix several events at once in the show using transparency (or also called alpha channel) of an event. To edit the alpha channel of an event use left mouse double click on an event. The alpha editor will appear.
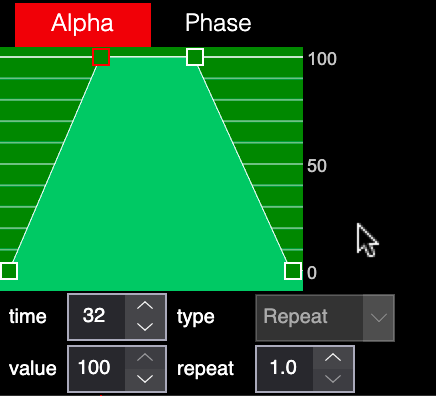
Event alpha editor
To set the position of the points, left click and drag them. The Y-value represents the alpha value from 0 to 100, where 0 means completely transparent and 100 means completely opaque. The X-value is the time of the alpha point on the timeline. You can also edit both values precisely by using the Time and Value settings at the bottom of the alpha-editor.
To add a new point on the graph, double click the left mouse button on the graph.
You can also use curves in the graph editor. By right-clicking on any point of the graph, a menu will appear.
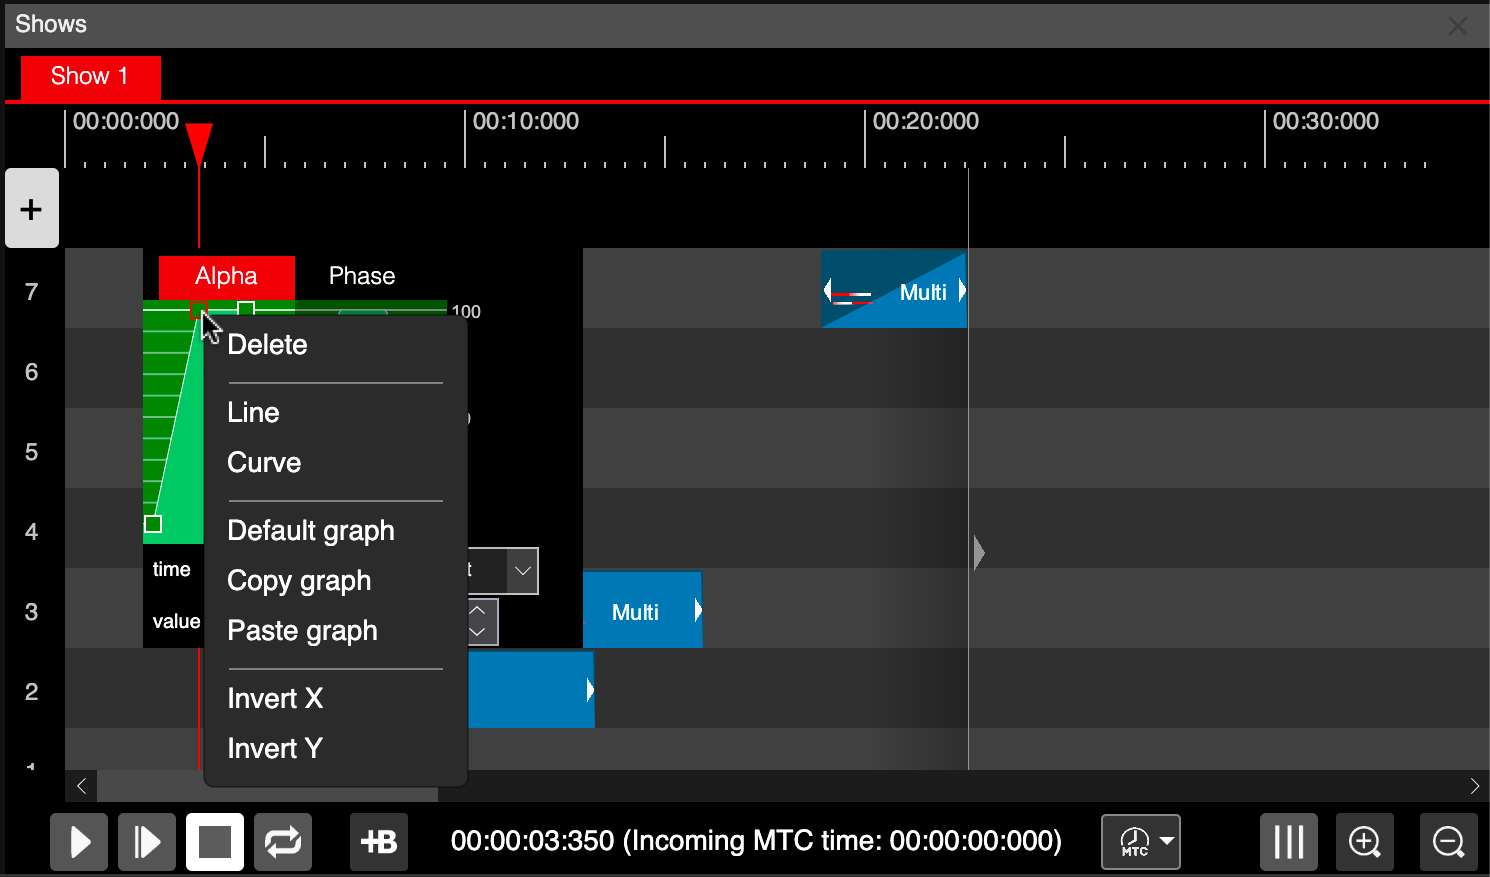
Graph point menu
Using the Line or Curve, you can convert the following segment to linear or curved. Then, using the control points, you can adjust the shape of the curve.
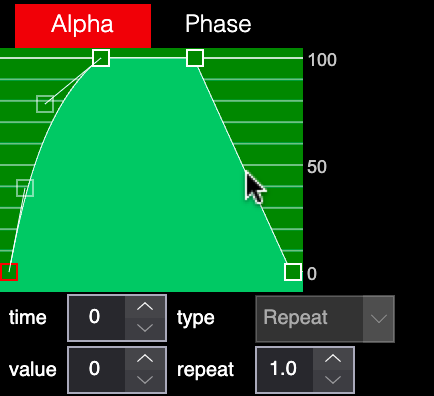
Curved point
There are additional functions in the point menu.
| Command | Explanation |
|---|---|
| Delete | Delete the selected point. |
| Line | Convert the next segment of the selected point to linear. |
| Curve | Convert the next segment of the selected point to curved. |
| Default Graph | Create a default graph for the selected function. |
| Copy Graph | Copy the graph to the clipboard. |
| Paste Graph | Paste the graph from the clipboard. |
| Invert X | Invert the graph horizontally. |
| Invert Y | Invert the graph vertically. |
You can also use the Repeat value to repeat the graph multiple times over the duration of an event. This is practical, for example, to create a strobe effect.
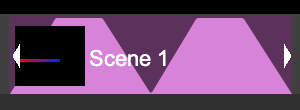
Event alpha repeat
Event Phase
The original animation from the scene is played once per event duration. But you can play it event 2 ore more times using Phase setting of an event.
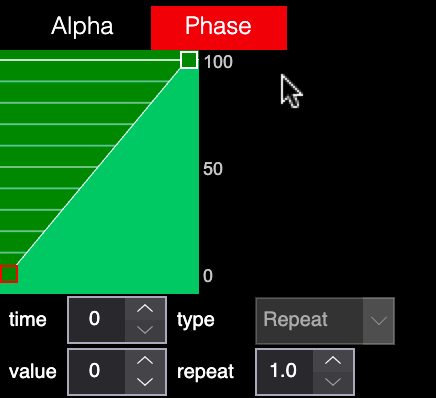
Default phase 0 to 100%
The default setting of the Phase will play the animation only once per duration. In the phase you cat set repeat to 2 to play the animation twice.
The Phase graph can be used also to control the acceleration or deceleration of an original animation of the scene. You can use several graph points or curved segment to accelerate and then decelerate the animation.
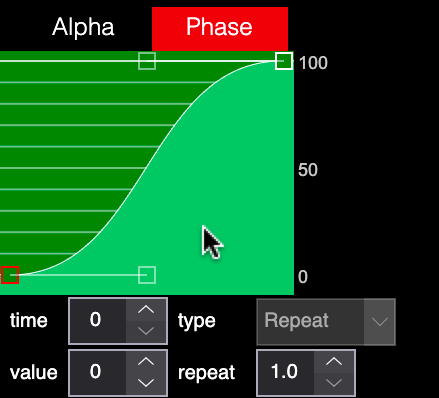
Accelerate and decelerate animation