Installations
How Do You Control a Gaming Addressable LED Setup?
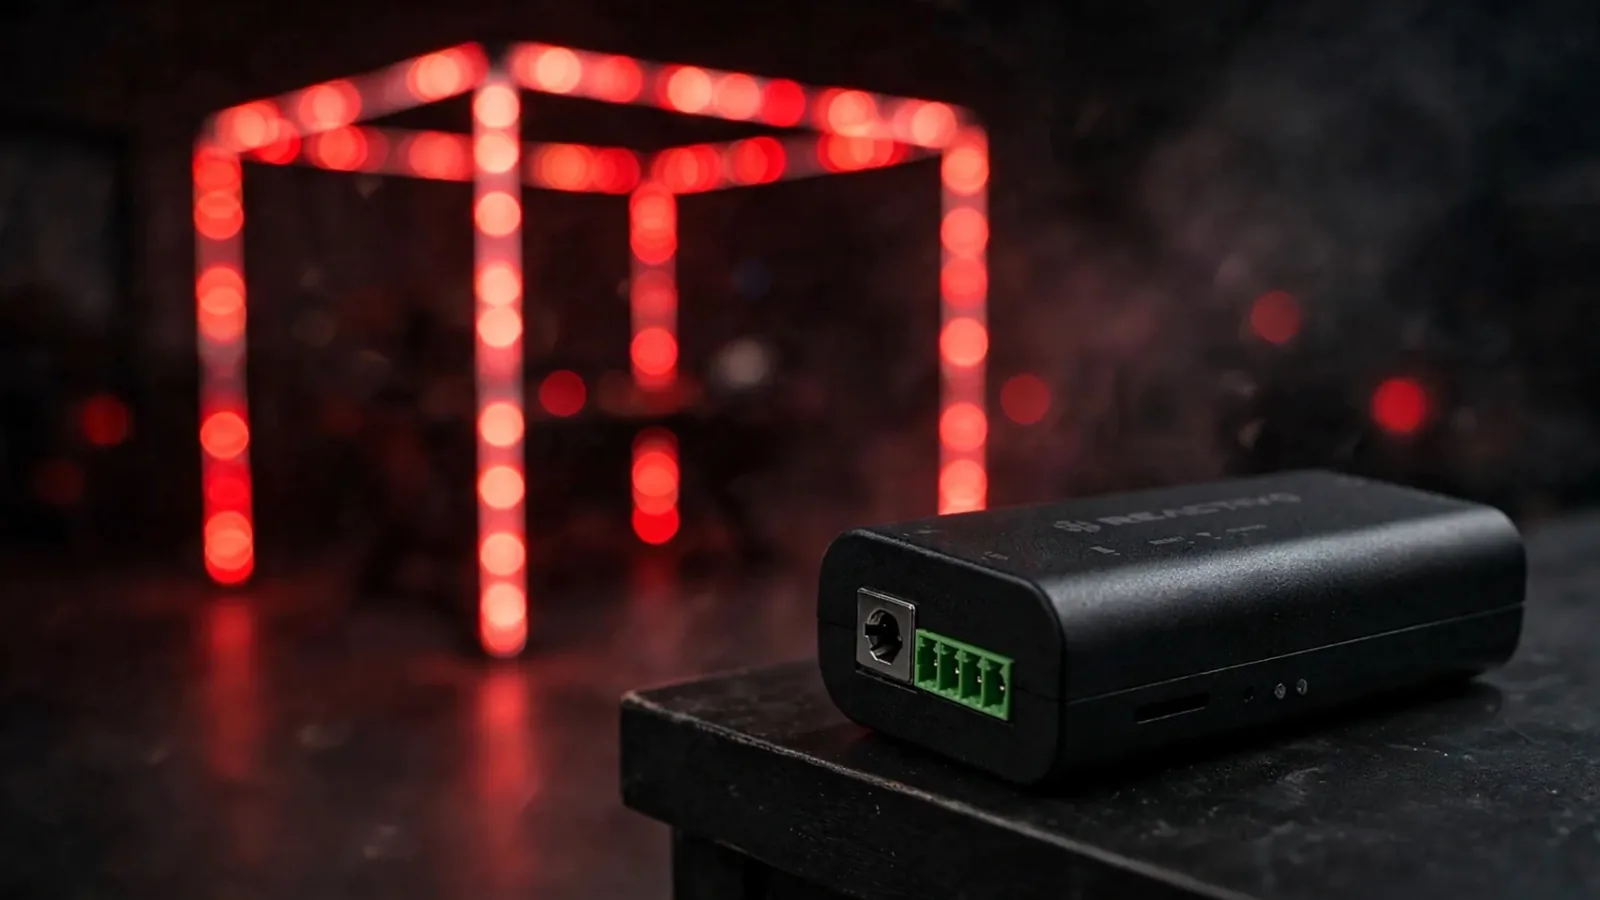
Most desk lighting is all-or-nothing: you switch it on and every strip does the same thing. A gaming addressable LED setup works differently. Each strip, and each diode inside it, can be driven separately. You decide exactly which part of the desk lights up and which stays dark.
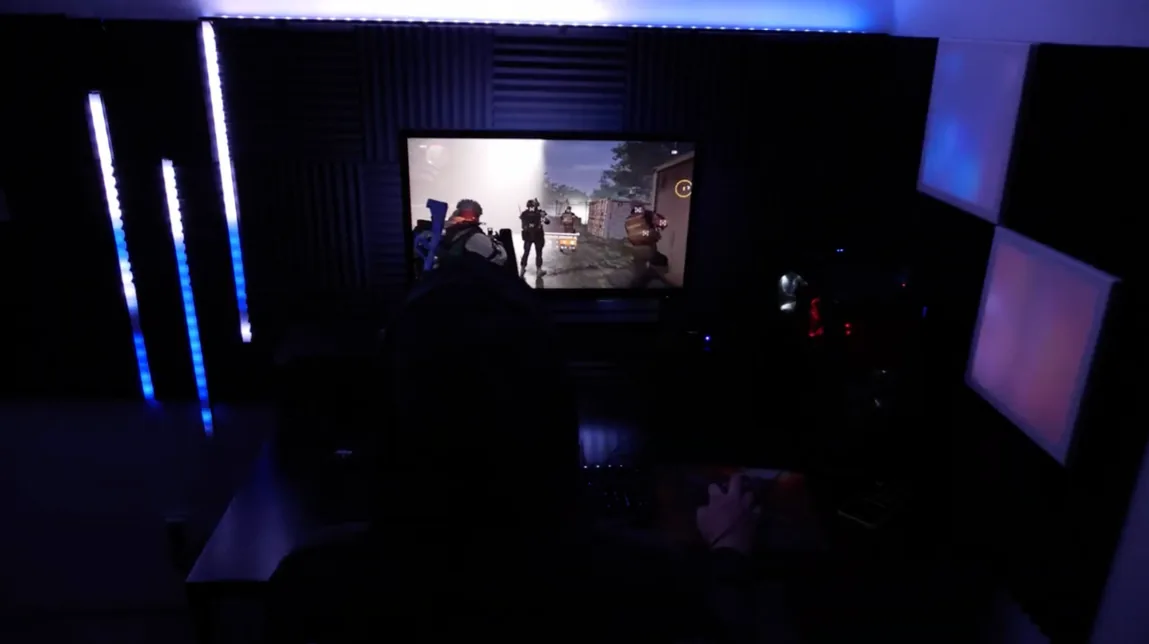
This article shows how that control works in practice. The example is our own gaming corner: a DIY monitor stand, screen mirroring during a session, and a single controller running the whole desk. It’s written for gamers and DIY builders who already have their strips installed and now want them to behave.
What Is a Gaming Addressable LED Setup?
A gaming addressable LED setup is desk lighting in which every diode carries its own color and brightness value, instead of the whole strip sharing one value. That single property is what makes screen mirroring possible — the controller can send a different color to the top of the monitor than to the left edge, because it addresses each pixel separately.
The second consequence matters just as much: what can be set per pixel can also be set per group of pixels. In the software, those groups are called segments — the top bar, the left bar, the stand, the panel behind the desk. Each one is an independent object you can retune or switch off without touching the rest.
Screen mirroring itself is just one effect running on top of that structure. It can capture the full screen or just a smaller region of it — a health bar, a specific window, a color zone — and push those colors out to whichever segments you’ve mapped.
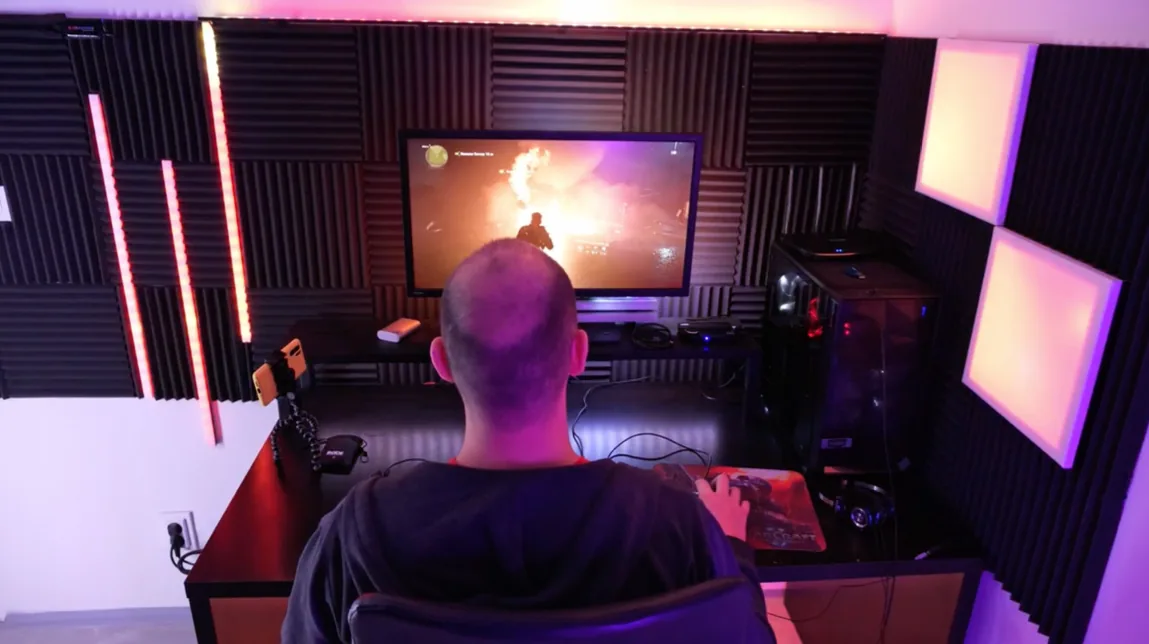 Source: LED Strip Studio
What Hardware Does the Setup Run On?
Every desk build has four layers: the LED strips, the surface carrying them, the controller, and the software. The strips and the carrier decide how the light looks; the controller and the pixel mapping software decide what it can do. Our desk runs on REACTIVO 2, a controller built for reactive and screen-driven lighting, paired with LED Strip Studio.
Why Does a Single Controller Change the Workflow?
The whole setup — monitor, stand, side bars, panel, and table — is driven by one controller. That’s the reason segment control works at all: everything sits in one addressing space, so the software sees one system rather than several disconnected products. Splitting the same desk across several cheap controllers means separate apps, separate clocks, and effects that drift out of sync.
It also keeps the wiring honest. One data chain, one power plan, one place to change something when you rearrange the desk.
Which Effect Handles Screen Mirroring?
Screen mirroring runs as a dedicated screen-capture effect in the control software. It reads the image on the monitor and pushes the averaged colors out to the mapped segments. Its per-segment options live under Advanced Settings, and that’s where all the work in the next section happens.
How Did We Build the LED Monitor Stand?
Our monitor has no VESA mount, so we built a stand instead of buying an arm. It’s a simple build — a leftover board, small offcuts as legs, finished with black paint. Nothing fancy, but it does the job completely.
The stand carries 30 diodes in total. That’s a deliberately small count, and it makes the point of the whole article. A 30-diode segment can be as visible as a two-metre strip, because it sits directly behind the monitor where the eye already is. If you want a cleaner finish than bare wood, mount the strip in an aluminum LED profile.
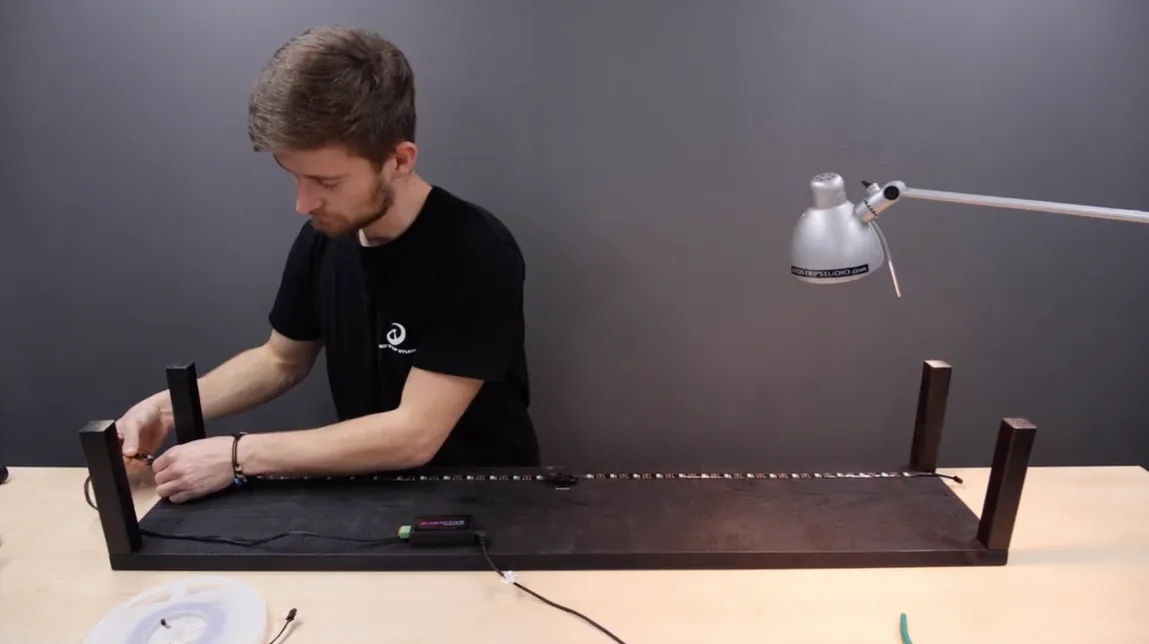 Source: LED Strip Studio
How Do You Turn Off Individual LED Strips?
You don’t unplug anything. You set the brightness of a segment to its minimum inside the effect, and that strip goes dark while the rest of the setup keeps running. If you only want the monitor and the stand mirroring the screen, every other segment has to go.
- Open the running effect — in our case, the screen capture effect in the control software.
- Go to Advanced Settings. Per-segment parameters are only available here, not on the main effect panel.
- Pick the segment you want dark — start with the top bar.
- Drag its brightness to minimum. The strip switches off immediately in the live preview and on the desk.
- Copy the settings of that segment.
- Select the next segment and paste — repeat for the left bar, then the panel.
- Confirm and save the result as your own setup.
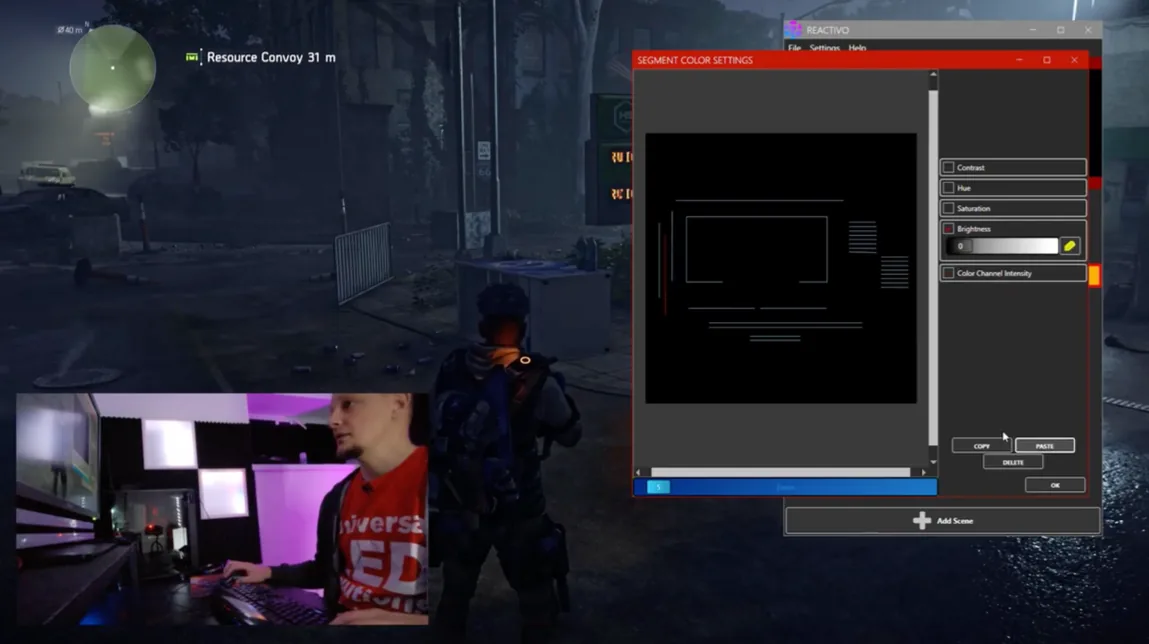 Source: LED Strip Studio
Can You Copy Settings Between Segments?
Yes, and it’s the fastest part of the workflow. Copy the tuned segment, select the next one, paste — a strip goes dark in seconds. Do it segment by segment until only the parts you want are still mirroring, then adjust brightness on the rest manually.
Which Method Should You Use for Which Situation?
| Method | What it affects | Survives a restart? | Best for |
|---|---|---|---|
| Master brightness | Whole setup at once | No — it’s a live value | Dimming the desk at night |
| Per-segment brightness in Advanced Settings | One selected strip or segment | Yes, once saved into the setup | Turning single strips off during a session |
| Saved setup / profile | Every segment plus effect settings | Yes | Switching between game, work, and film scenes |
| Physically unplugging a strip | One strip, permanently | Yes | Nothing — it breaks the data chain |
Saved setups are what make this practical. Build one profile with only the monitor and stand active, and a second one with the full desk lit. Switching between them takes one click instead of several segment edits, and a saved scene can also be recalled from the LSS Remote app.
Which Mistakes Ruin a Desk LED Build?
The problems that show up most often in DIY gaming builds are rarely hardware failures. They’re structural decisions made before the first strip was stuck down.
- Buying several small controllers instead of one. Segments can’t be managed together, and effects drift out of sync across the desk.
- Skipping the pixel map. Without a map, the software doesn’t know that the stand sits below the monitor, so directional effects look random.
- Turning strips off at the socket. Cutting power mid-chain kills everything downstream of it — use segment brightness instead.
- Never saving a setup. Retuning several segments every evening is the fastest way to stop using the system.
- Lighting every surface at full brightness. Screen mirroring reads best when the light supports the monitor rather than competing with it.
 Source: LED Strip Studio
The desk is one zone; how the rest of a house is planned around it is covered in our guide to residential pixel LED lighting.
Watch the Full Build

Summary
In a gaming addressable LED setup, every diode is driven separately, so the desk can mirror the screen instead of glowing one flat color. Strips are grouped into segments — monitor, stand, top bar, left bar, panel, table — and each one is edited on its own. To switch a strip off, drop its brightness to minimum in Advanced Settings, then copy and paste that setting onto the next segment. The whole desk runs from a single controller, and every configuration can be saved as a reusable setup.