Four Buttons. No Computer.
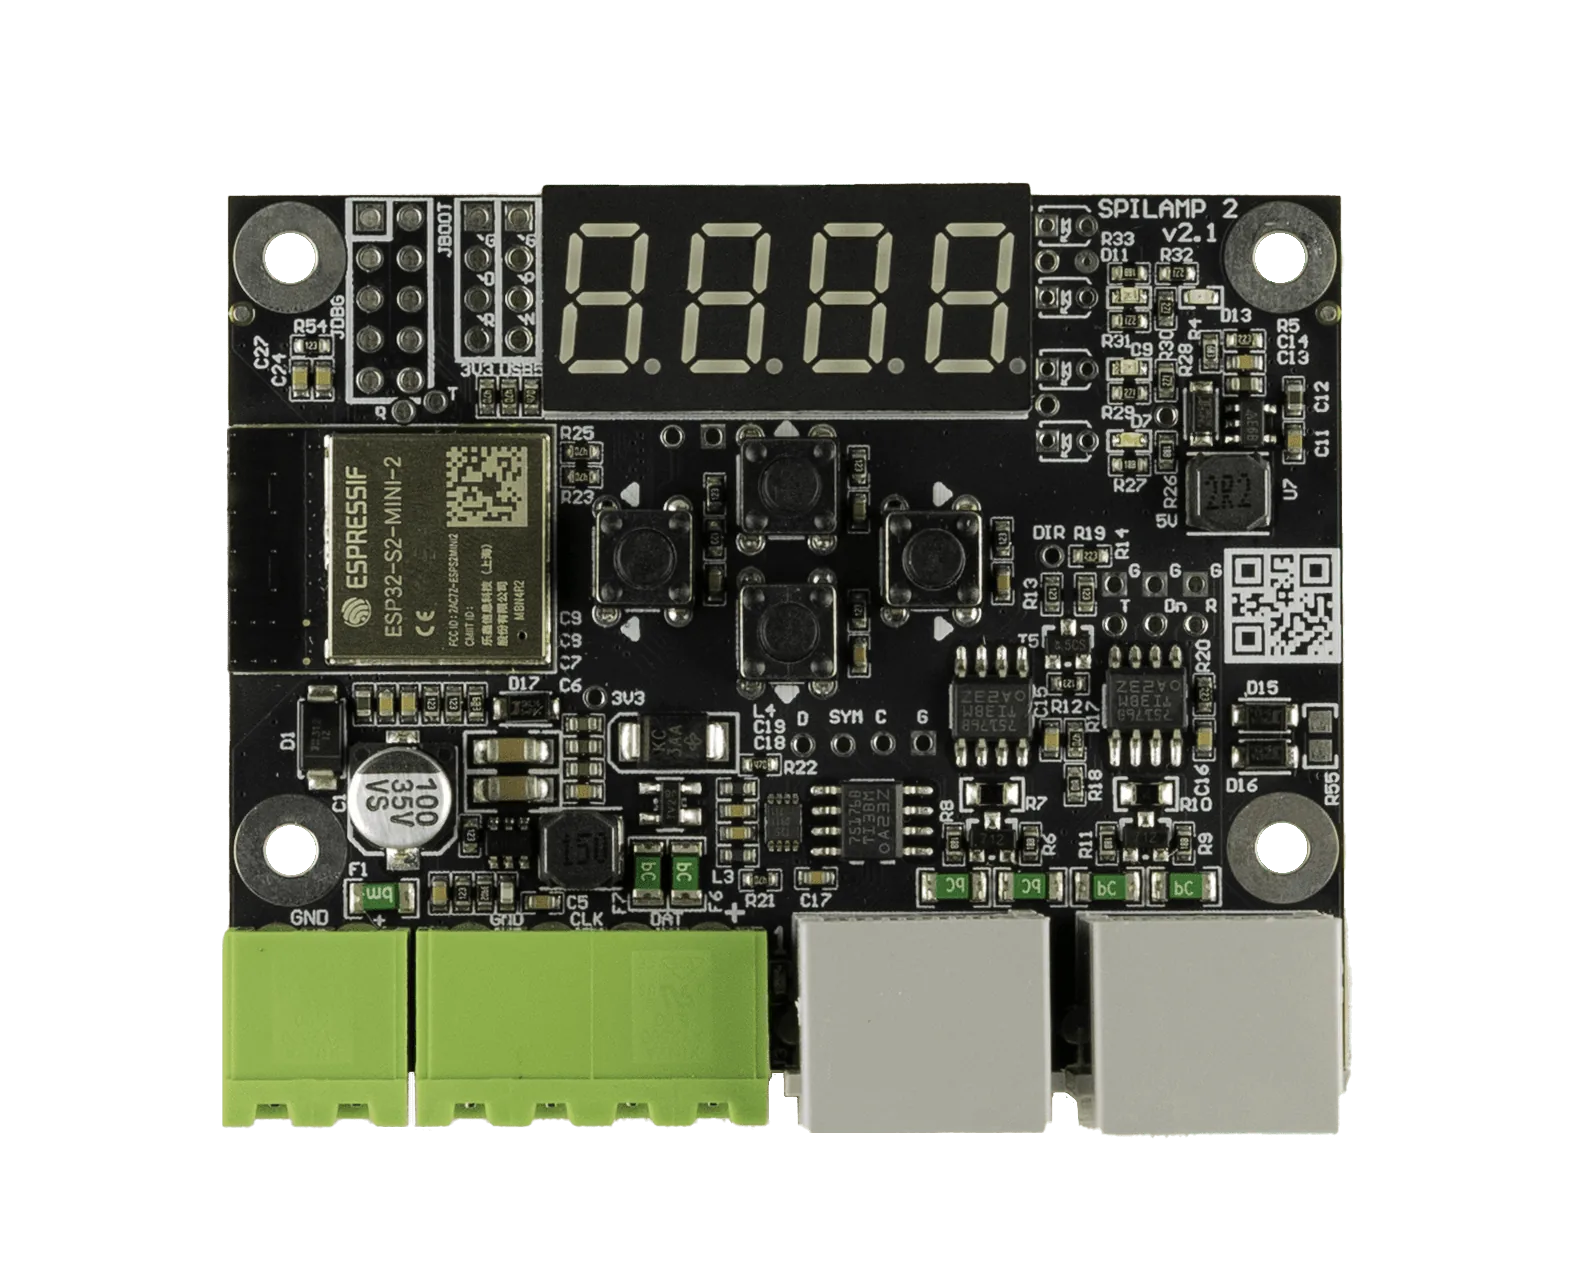
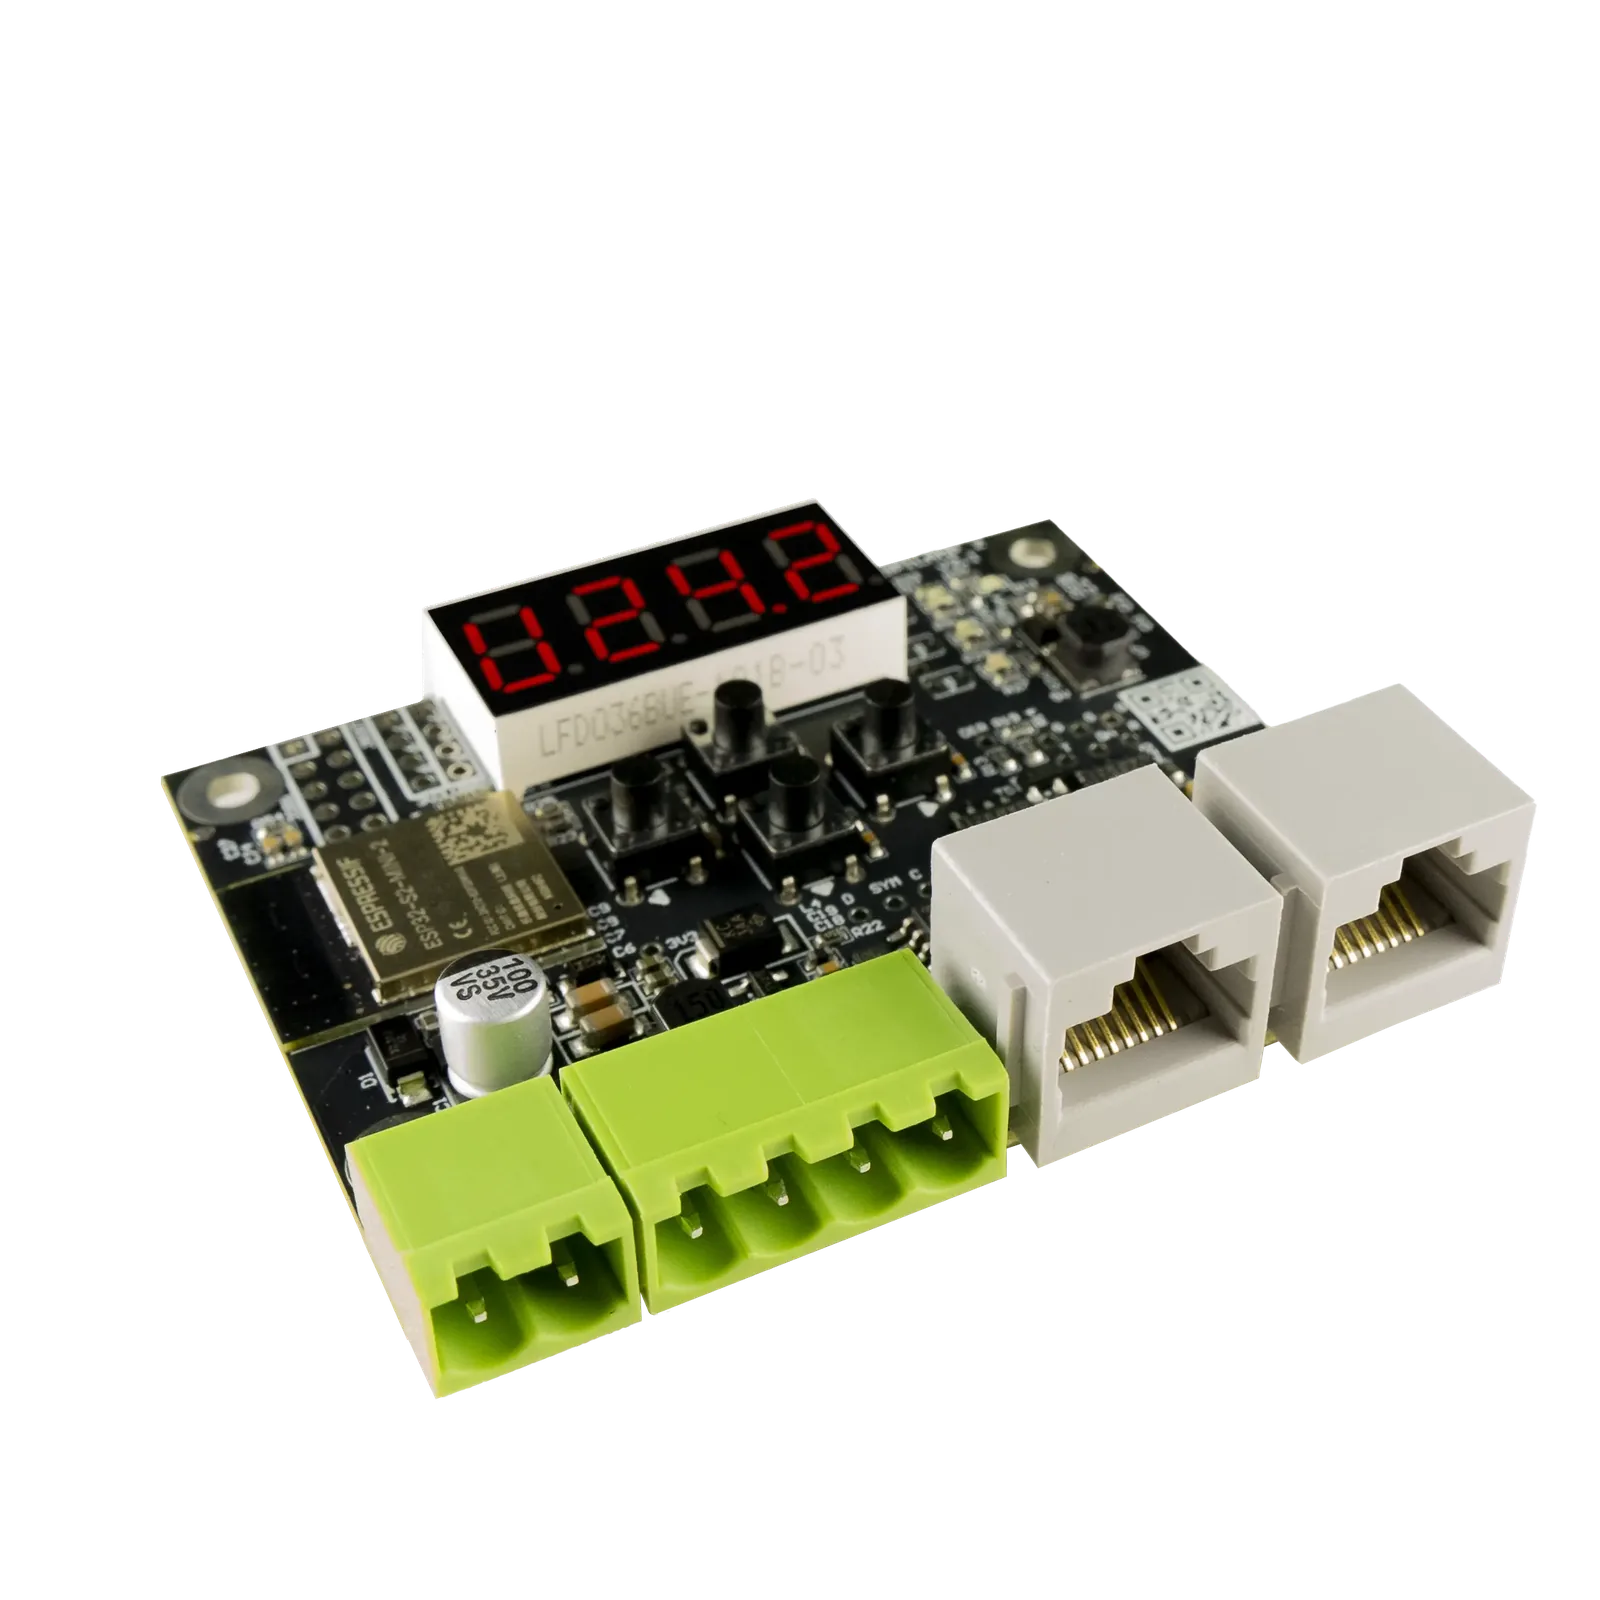
Every SPI Lamp 2 carries a display and four buttons. Pixel count and IC type are set on the unit itself, which matters when the board is already mounted inside a junction box behind an LED object.
On the Device
What you set on the board
Two settings decide how a unit behaves: how many pixels it drives and which LED chip those pixels use. Both are entered on the display with the four buttons, so a board can be commissioned with nothing but a screwdriver and power.
The same display reports back what the unit is doing, which is usually enough to tell a wiring fault from a configuration fault without opening anything.
- Number of pixels on the output
- IC type for the connected strip or pixels
- Readout of supply voltage, firmware version, pixel count and IC type
- Firmware is user updateable
The Alternative
Setting a whole chain at once
Entering settings by hand is quick for a few boards. For a large installation the same values can be written to a SpiLamp2.cfg file on the SD card of the LEC3 or SPI Matrix that feeds the chain.
Both routes end in the same place. The file simply saves walking to every board in a ceiling.
- SpiLamp2.cfg on the controller SD card as an alternative
- Useful when many units share the same settings
- No SD card needed for basic setup
FAQ
Configure Without a PC questions
No. Pixel count and IC type are entered on the unit with its four buttons and display.
Supply voltage, firmware version, the pixel count and the IC type currently set.
Yes. Put a SpiLamp2.cfg file on the SD card of the LEC3 or SPI Matrix feeding the chain.
Planning a Distributed LED Install?
Book a free consultation and we'll work out how many SPI Lamp 2 units your project needs.
Book a Free Consultation →