


Description
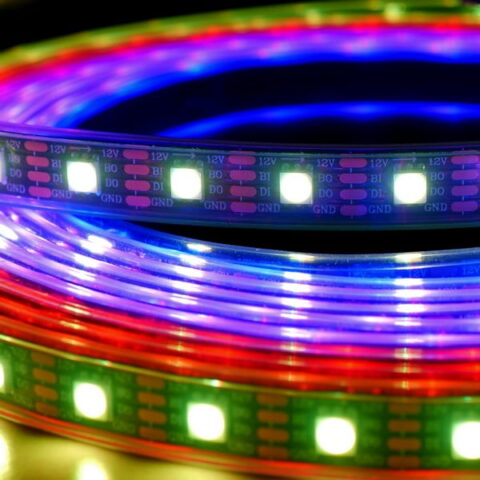
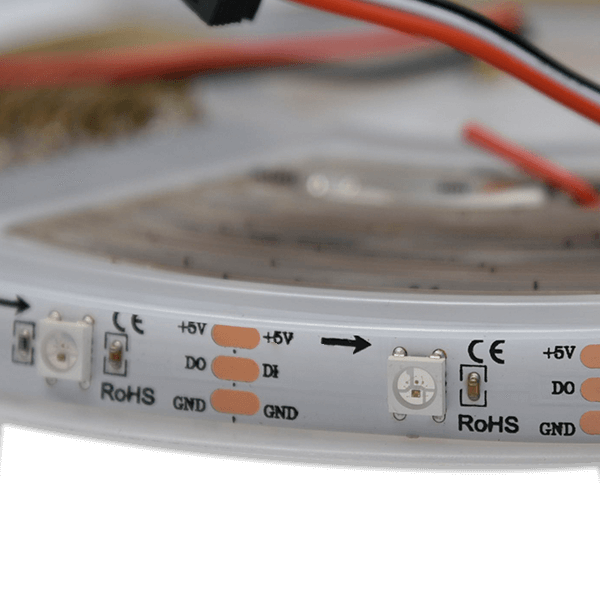
The SK6812 LED strip is a digital, individually addressable RGB strip: instead of one colour across the whole run, every LED holds its own. Thirty pixels per metre, 150 on the 5 m roll, all driven from a single data line at 5V. JST SM connectors come fitted at both ends and 3M adhesive tape runs the length of the back.
What makes the SK6812 LED strip addressable?
Each LED carries its own SK6812 driver chip. The controller sends one serial data stream down the strip, each chip takes the three bytes meant for it and passes the rest along. That is why a single output can animate a whole run, and why a pixel two metres in can be red while its neighbour stays dark.
Three DMX channels per LED
Every pixel takes three channels — red, green and blue — in RGB mapping order. Set your software to RGB and the colours land where you expect them, without the channel-swapping that catches people out on GRB strips. The 5 m roll therefore occupies 450 DMX channels in total.
Compatible with common single-wire protocols
SK6812 uses the same single-wire timing family as WS2812B and TM1809, so it works with the controllers and pixel-mapping software already built for those chips. Choose SK6812 in LED Strip Studio software and the strip is ready to map.
How much power does the 5V SK6812 LED strip need?
The strip runs on 4.8 V to 5.2 V DC and draws 5.4 W per metre at full RGB output — 27 W, or roughly 5.4 A, for a complete 5 m roll. Size the supply above that figure rather than at it, and match the voltage exactly: 5V strip, 5V supply, no exceptions.
Why 5V runs want power injected
Five volts leaves little headroom for voltage drop, so a long single-feed run fades and shifts colour towards the far end. Feed power to both ends of a roll, and add another injection point when you chain rolls together. Our power supply guide walks through the calculation, and a Mean Well supply covers the load.
Where can you cut and join the SK6812 LED strip?
At every single LED. The cutting segment is one pixel, 33.3 mm, which is as fine as a 30 LEDs/m strip gets — useful when a shape needs an exact length instead of the nearest three-LED block.
JST SM connectors, no soldering to start
Both ends leave the factory with JST SM connectors, so rolls plug into each other and into a controller lead straight out of the box. Once you cut the strip, the new end has bare solder pads: solder a fresh connector or a cable there, keeping the data arrow pointing away from the controller. Data flows one way only.
3M adhesive tape on the back
The 10 mm wide white PCB is 3 mm thick with 3M tape already applied, so it presses onto a clean, dry, flat surface without brackets. For aluminium profiles, curved surfaces or anything overhead, treat the tape as positioning and add clips or a channel to hold it long-term.
Is an IP20 LED strip right for your installation?
IP20 means no protection against water and no silicone tube over the LEDs. In exchange you get a bare, flexible, low-profile strip that bends and dissipates heat better than a sleeved one — the right choice for interiors: ceilings, coves, shop fittings, exhibition stands, set pieces and club installations under a roof.
Keep it out of the rain, away from splashes and out of unheated outdoor runs. The operating range is -20 °C to +50 °C, so cold is not the problem — moisture is. Outdoor and washdown projects need a sealed strip instead.
Which controllers drive the SK6812 LED strip?
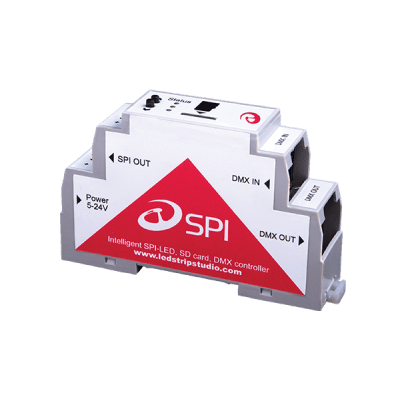
Any SPI output built for single-wire addressable pixels. LEC 3 handles large Art-Net driven installations, the SPI LED Controller suits smaller fixed runs, and REACTIVO 2 adds sound-reactive effects. Where the controller sits far from the first pixel, a Mini TTL Signal Buffer regenerates the data signal before it degrades.
The strips are made to LED Strip Studio’s own specification for pixel-mapping work, not repackaged generic goods, and our support team will check your layout, power budget and channel count before you order the reel count you think you need.